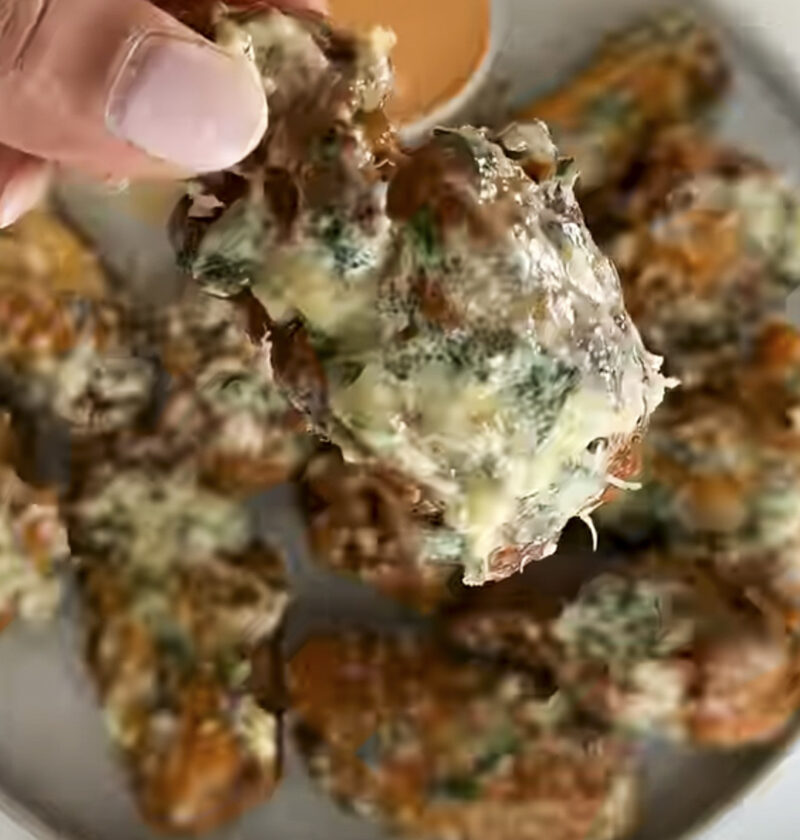
Recall a rainy evening when this comforting dish brought you back a lot of good memories. The smell of the warm meat, together with the fragrance of melting fat, butter, and cheese, is enough to transport you back to the place where you were most comfortable. These wings are perfect for a midnight snack and a gathering of friends and family.
You don’t need expensive equipment to make this treat. A bit of knowledge and the right tools like a sheet pan will do. You can prepare this meal using some simple ingredients that are likely to be found in your kitchen pantry.
Key Takeaways
Easy Crispy Garlic Parmesan Chicken Wings for New Year’s Eve
Golden, crackling party wings coated in rich garlic herb butter and finely grated aged cheese.
Ingredients
- 2 lbs chicken wings (split into drumettes and flats)
- 1 tablespoon aluminum-free baking powder (not baking soda)
- 1 teaspoon kosher salt
- 1/2 teaspoon freshly cracked black pepper
- 1/2 teaspoon garlic powder
- 4 tablespoons unsalted butter
- 4 cloves fresh garlic, minced very fine
- 1/2 cup Parmigiano-Reggiano, freshly grated on a microplane
- 2 tablespoons fresh flat-leaf parsley, finely chopped
- 1/4 teaspoon red pepper flakes (optional, for subtle warmth)
Necessary Utensils & Equipment
-
-
- Rimmed baking sheet
-
- Oven-safe wire cooling rack
-
- Large mixing bowl
-
- Small saucepan
-
- Silicone spatula or tongs
-
- Microplane or fine cheese grater
-
- Paper towels
-
Instructions
-
- Adjust your oven rack to the upper-middle position and preheat the oven to 425°F (218°C). Line a rimmed baking sheet with aluminum foil for simple cleanup, then place an oven-safe wire rack directly on top. Lightly mist the rack with cooking oil.
- Dry the chicken wings thoroughly using clean paper towels. Press firmly to pull away as much surface moisture as possible; dry chicken is mandatory for crunchy skin.
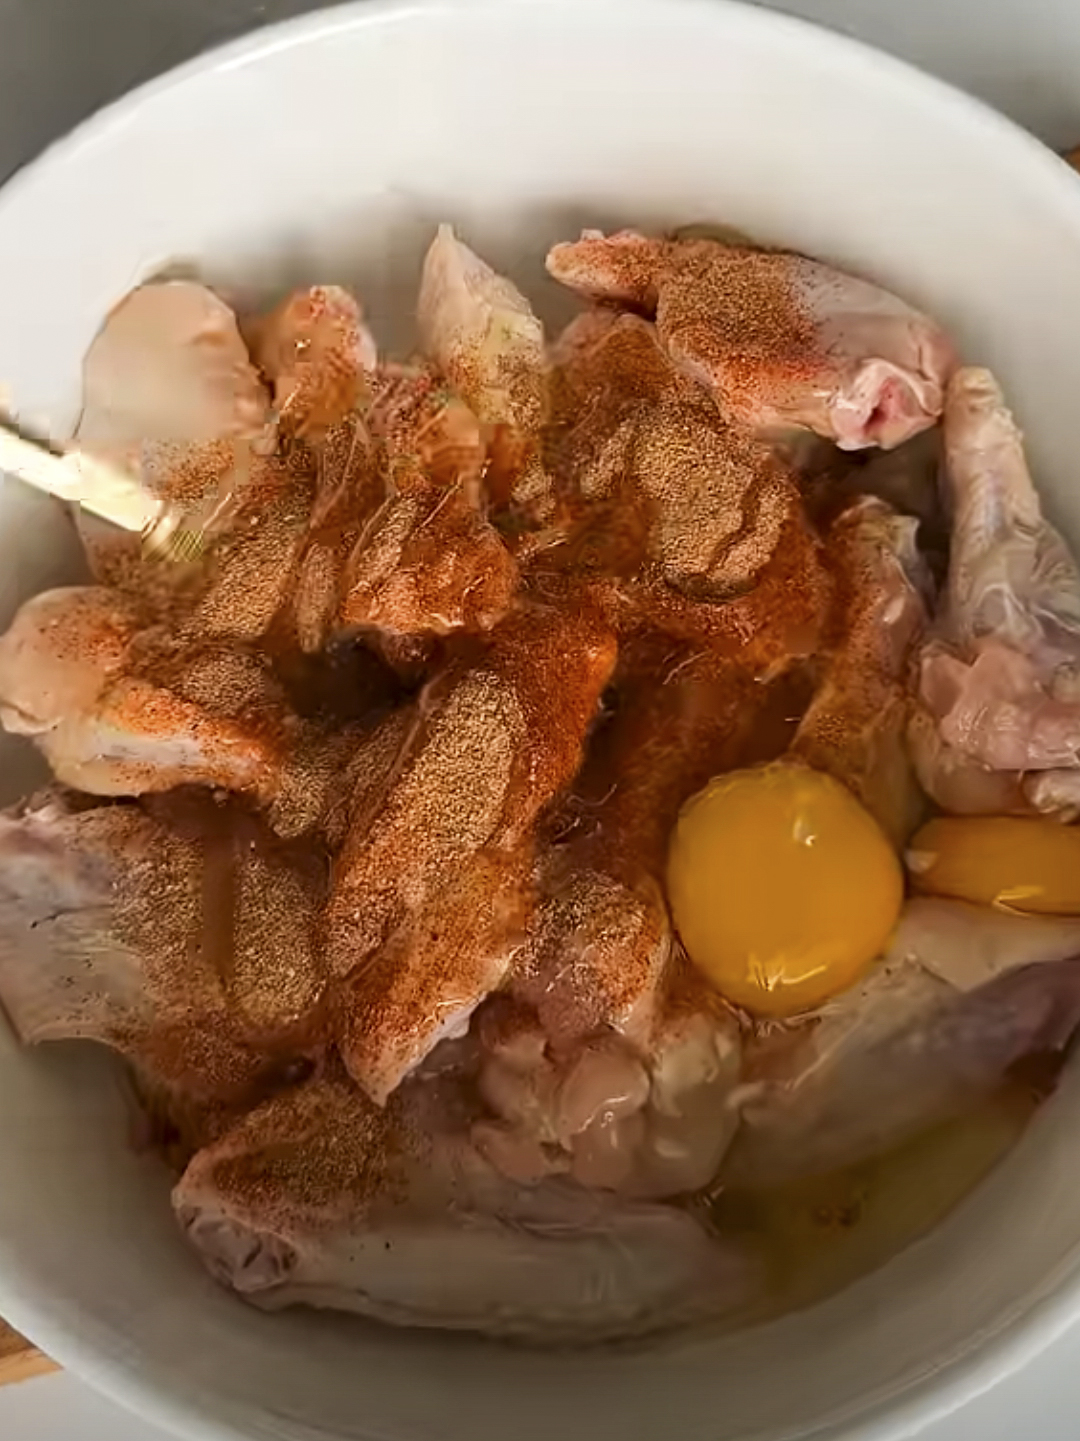
- Place the dried wings into a clean mixing bowl. Sprinkle the baking powder, kosher salt, black pepper, and garlic powder evenly across the chicken. Toss thoroughly until each piece has a thin, even powdery coating.
- Arrange the seasoned wings on the wire rack in a single layer with skin-side up. Leave a finger’s width of space between each wing so air can circulate completely around the meat.
- Bake at 425°F (218°C) for 30 to 35 minutes. Flip the wings halfway through baking to brown both sides evenly. The wings are ready when the skin turns deep golden brown and bubbles with tiny, crackling blisters.
- While the chicken finishes in the oven, place the unsalted butter and minced garlic into a small saucepan over medium-low heat. Cook for 2 to 3 minutes until the butter melts and the garlic softens into a fragrant, pale golden hue. Remove from the heat immediately so the garlic does not brown or turn bitter. Stir in the red pepper flakes.
- Transfer the piping hot wings straight from the oven rack into a large stainless steel bowl. Pour the warm garlic butter over the wings, then toss them quickly with tongs to glaze every surface.
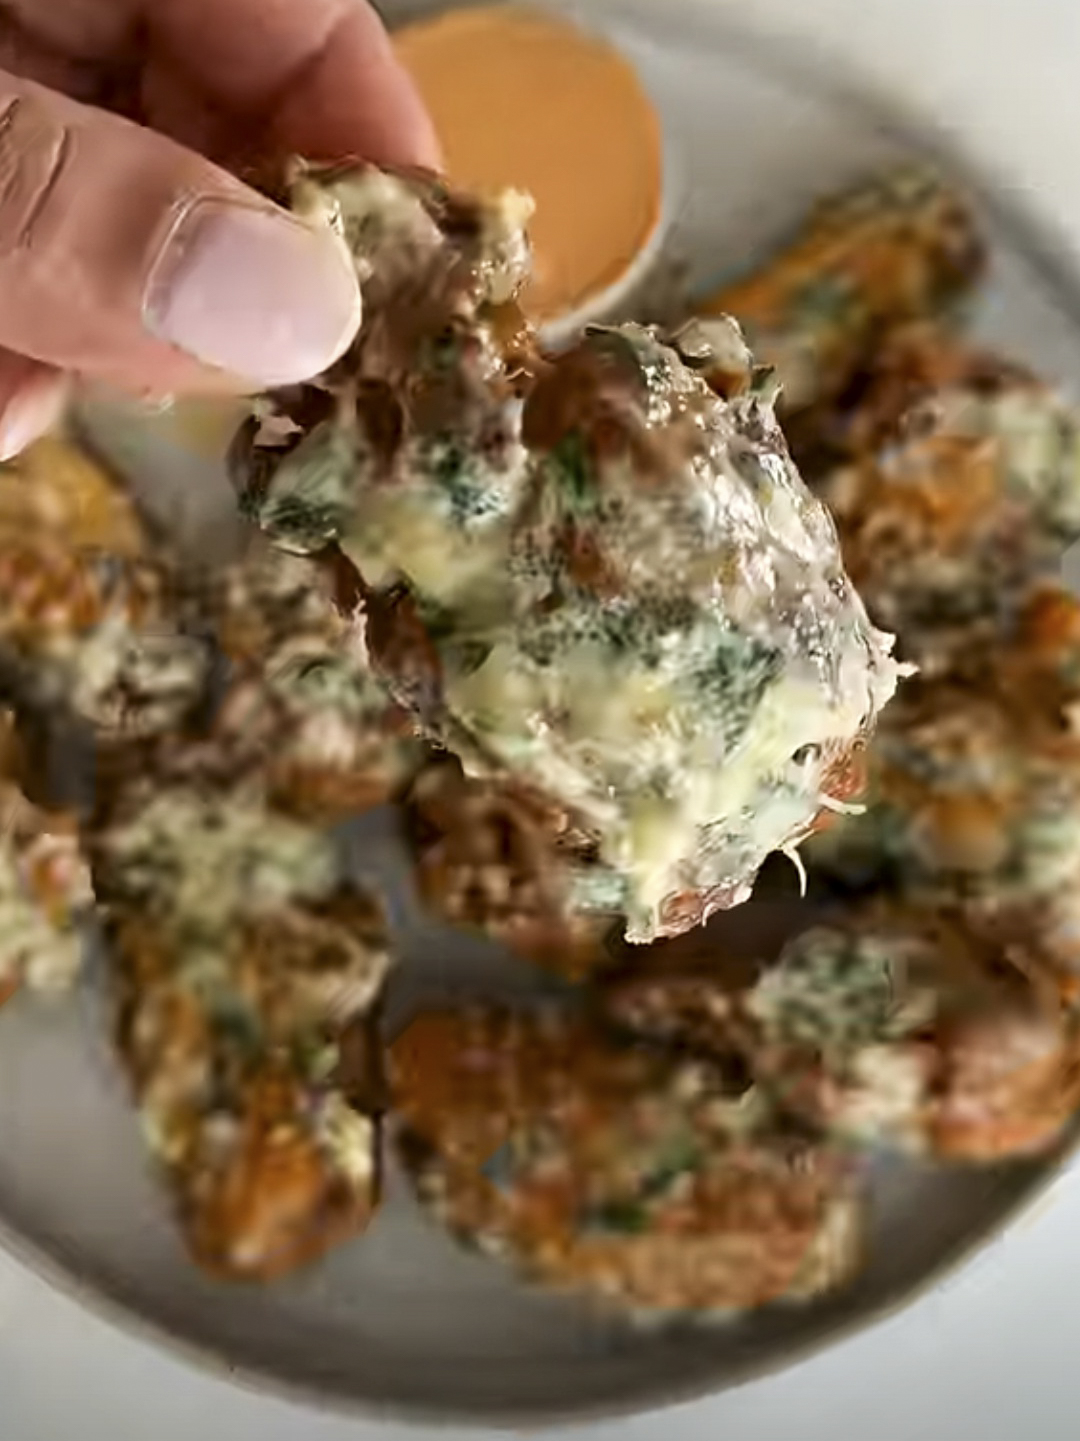
- Shower the wings with the freshly grated Parmigiano-Reggiano and chopped parsley. Give the bowl two or three gentle tosses so the cheese clings to the warm butter glaze without clumping into a single ball. Serve immediately on a warm platter.
The Real Secret to Crackling Wing Skin
Most home chefs have come to think of deep frying these things in gallons of oil as the only way to achieve nice and crisp bar-style wings. But it really is not the case. You can in fact recreate the same effect in your own oven by applying some science.
Tossing the raw chicken wings with aluminum free baking powder will alter the surface pH of the skin to create the blistering needed for the desired crunch, without a deep fryer. The mild alkalinity of the reaction will break the bonds of the proteins in the poultry skin. As the chicken is heated, the moisture will quickly evaporate causing thousands of tiny bubbles to form, which then bake into a thin light glassy skin.
Make sure you use baking powder and not baking soda, when reaching for the leavening agent in your pantry. Baking soda has a metallic aftertaste, that will leave an unpleasant soapy flavor to your otherwise tasty dish. Make sure you also use an aluminum free brand, to avoid any unwanted metallic flavor, that will take away from the natural sweetness of the meat.
A clean wire rack placed on top of a rimmed sheet pan is another essential element of this project. Roasting the chicken wings on a bare metal baking sheet will cause them to curl into themselves and sit in their own rendered fat. This will lead the bottom parts of the wings to steam, instead of finish crisping up. The elevated position of the meat on the wire rack allows the hot dry air of the oven to fully circulate around each individual piece of poultry, allowing the fat to render off cleanly into the sheet pan below.
Crafting the Silky Garlic Herb Glaze
The sauce is very easy to make: it consists of butter, garlic, and cheese. However, making it requires a specific approach; otherwise, the meat will be overly greasy and covered with a rubbery layer of congealed dairy.
When I tried to prepare it for the first time for my holiday dinner, I panicked when the garlic started to sizzle in the rapidly boiling butter. In my anxiety, I killed the garlic, making the sauce bitter and unusable, as I had added the fresh minced garlic directly into the heat.
Since then, I have learned that fresh garlic should be gently warmed in the mixture until it becomes translucent; this way, it will not release its sharp flavor. The gentle heating of the garlic also helps to prevent the cheese from forming lumps.
Pro Tip: Grate your Parmigiano-Reggiano directly on a fine microplane grater rather than buying pre-grated cups. Feather-light shreds melt instantly onto the warm chicken, clinging to every fold of crispy skin without sliding off into a pool at the bottom of the bowl.
Never use pre-shredded cheese from a tub, because cellulose anti-caking agents prevent the cheese from melting into a creamy coating. Authentic Italian Parmigiano-Reggiano or a quality domestic Parmesan gives you sharp, salty, umami notes that stand up to the pungent minced garlic. When the cheese hits the warm butter-coated wings, it bonds with the fat, forming a creamy crust that locks onto the crisp skin.
Planning Your New Year’s Eve Wing Schedule
Nobody wants to spend New Year’s Eve trapped in a greasy kitchen while guests celebrate in the living room. Timing makes all the difference when you host a crowd.
You can complete almost all the preparation hours in advance. Follow this straightforward hosting schedule to serve piping hot wings right when the party peaks:
- Morning (10:00 AM): Pat the chicken dry, toss with the baking powder spice blend, and set the wings on your prepared wire rack. Slide the entire sheet pan into the refrigerator uncovered. The cold refrigerator air dries out the skin, making the wings crisp even harder during baking.
- Evening (10:45 PM): Mince your fresh garlic, grate the cheese, chop the flat-leaf parsley, and set your butter in the small saucepan. Everything sits ready by the stove.
- Party Time (11:15 PM): Fire up your oven to 425°F (218°C) and slide the cold wings inside straight from the fridge.
- Midnight Countdown (11:50 PM): Warm the garlic butter gently on low heat. Pull the sizzling wings from the oven, toss them in the bowl with butter, shower them with cheese and parsley, and set the platter down just as the clock strikes twelve.
Expert Tips for Success and Variations
Small adjustments keep your kitchen calm and your food consistent throughout the evening. Keep these practical considerations in mind when working through the process.
Moisture Is the Enemy of Crispness
If you take only one lesson from this recipe, make it this one: dry chicken cooks crispy, wet chicken steams soft. Use three or four paper towels to press every drop of moisture from the chicken skin before you dust it with the dry rub. If the wings feel slick or slimy, keep patting until they feel tacky to the touch.
Controlling Sauce Heat
Let the wings rest on a wire rack for five minutes before tossing so the skin stays crispy rather than steaming in the bowl. If you dump bubbling butter onto wings straight from a 425-degree oven, the cheese will separate into grease and chalky white solids. Let the wings drop in temperature for just two minutes before tossing. The residual heat will melt the microplaned cheese without breaking the emulsion.
Flavor Variations to Try
While the classic garlic and cheese profile pleases nearly everyone, you can easily shift the seasoning to match your gathering:
- Spicy Calabrian: Stir one teaspoon of chopped Calabrian chili paste directly into the melted butter before tossing. The smoky, fruity heat balances the rich cheese.
- Lemon Herb: Add the finely grated zest of one whole lemon along with two teaspoons of freshly minced rosemary into the butter. The bright citrus cuts through rich holiday cocktails.
- Truffle Garlic: Replace one tablespoon of regular butter with white truffle butter, finishing with coarse flaky sea salt alongside the Parmesan.
Air Fryer Instructions
If you’re using an air fryer, you can also get great results in smaller batches by preheating the air fryer basket to 380 F (193 C). Place the wings seasoned in a single layer (don’t overload the basket).
Cook for 20 minutes, shaking the fryer every 7 minutes. Raise the temperature to 400 F (204 C) for the last 5 minutes to crisp the wings to a deep golden brown. Toss the fried wings with the garlic butter glaze in a bowl as soon as you remove them from the fryer.
Storing and Reheating Leftovers
Leftover wings lose their signature crackle quickly in the fridge as the moisture draws out of the skin. If you find yourself with leftovers after the party consider this storage tip:
Store your wings in an airtight container with a dry paper towel for up to three days. The paper towel will soak up moisture in the container, thereby preserving what little crunch remains on the wings.
When you’re ready to eat them again never ever warm up wings in a microwave. The rubbery skin plus the pooling of the butter sauce makes for a sad excuse for a second meal. Instead arrange the wings on a wire rack set over a baking sheet and bake them at 375 degrees for eight to ten minutes or until the crust is nicely crisp. The hot air will singe the crust back to life and allow the garlic butter to regain some of it’s lost flavor. A final sprinkling of freshly grated Parmesan right out of the oven will complete the dish.
Frequently Asked Questions
Can I make these wings ahead of time for a party?
You can season and dry-brine the wings on a rack in the refrigerator up to 24 hours in advance. Do not toss them in the garlic butter sauce ahead of time, or the skin will become soggy. Bake and coat them right before serving for peak crunch.
Why did my garlic turn blue or green in the butter?
Garlic contains sulfur compounds and enzymes that react to mild acids and minerals during cooking, which can occasionally cause harmless color shifts. Cooking your garlic slowly over gentle heat without rushing prevents this discoloration and keeps the flavor mellow.
Can I use frozen chicken wings for this recipe?
You must thaw frozen wings completely before beginning. Thawed wings release substantial moisture, so lay them between several layers of paper towels for twenty minutes before applying the baking powder seasoning.
Why are my baked wings sticking to the wire rack?
Wings stick when the rack lacks oil or the meat moves before the skin has rendered and released naturally. Lightly brush or spray your wire rack with neutral oil before loading the wings, and avoid flipping them until they have baked undisturbed for at least twenty minutes.
Are you planning to serve these alongside classic ranch dip or a fiery buffalo sauce for your countdown celebration?