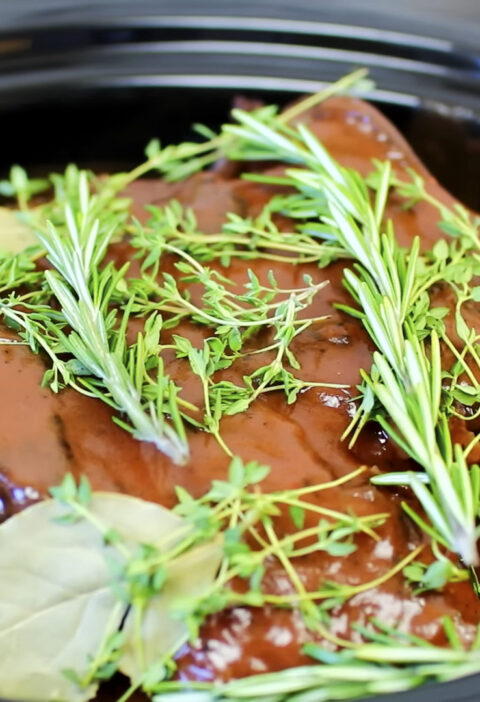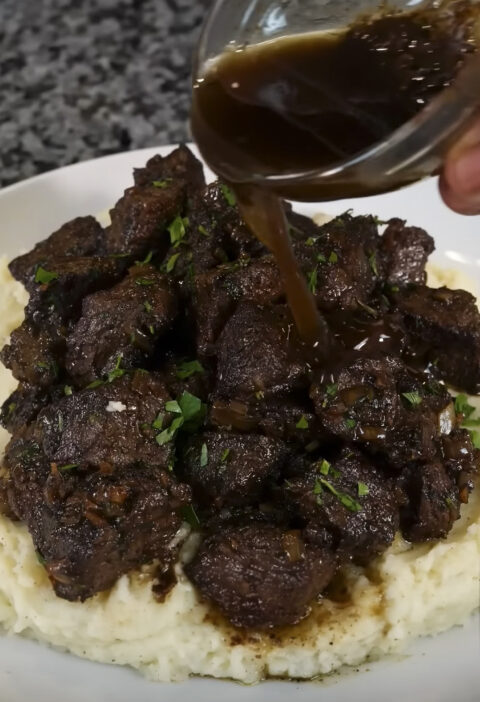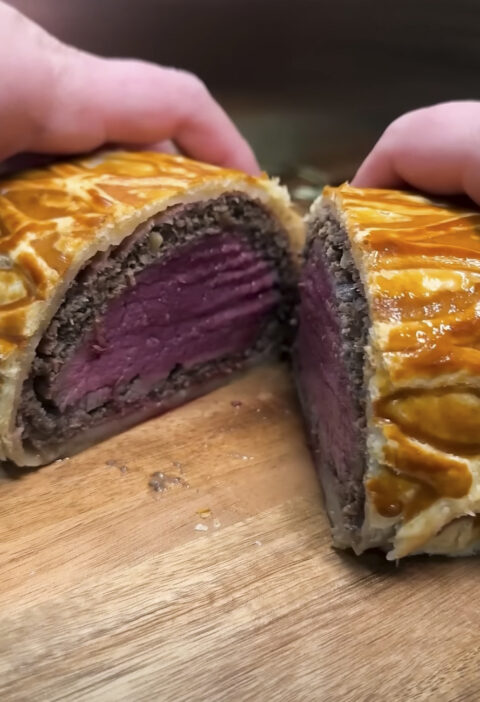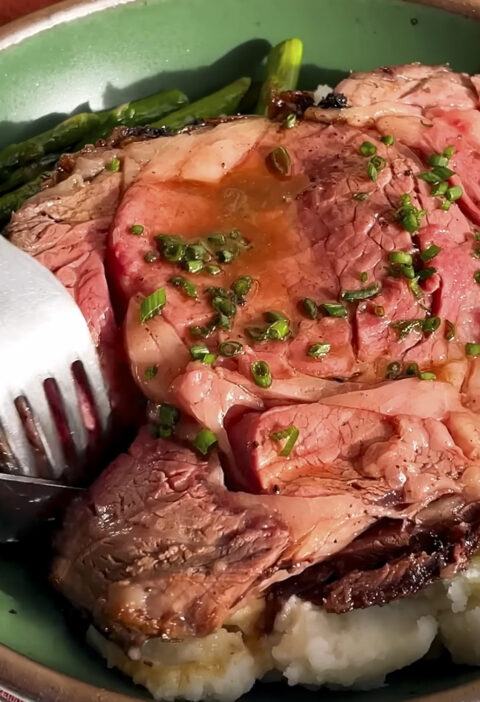
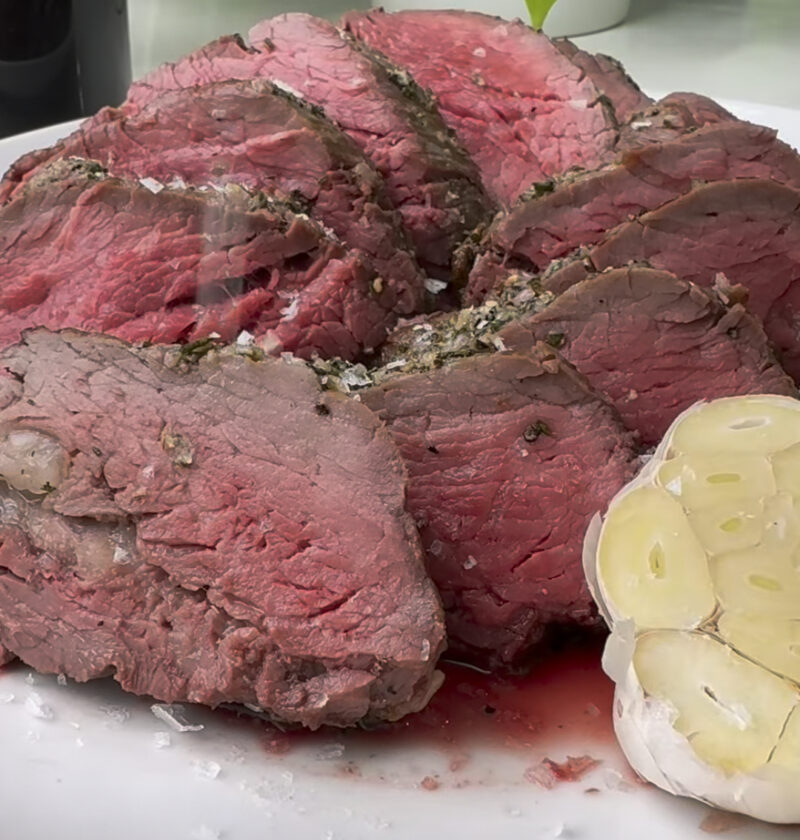
Cooking with an expensive cut of beef can be daunting, however there are 4 simple steps to getting the perfect show stopping roast. Seasoning, searing, roasting and resting. This recipe will leave you feeling confident in your kitchen. The tenderloin is a naturally tender cut of beef so is very forgiving. Using a simple probe thermometer will help you cook it perfectly. Coat in tasty garlic and fresh herbs to create a rich crust.
Key Takeaways
Easy Roasted Garlic Herb Beef Tenderloin
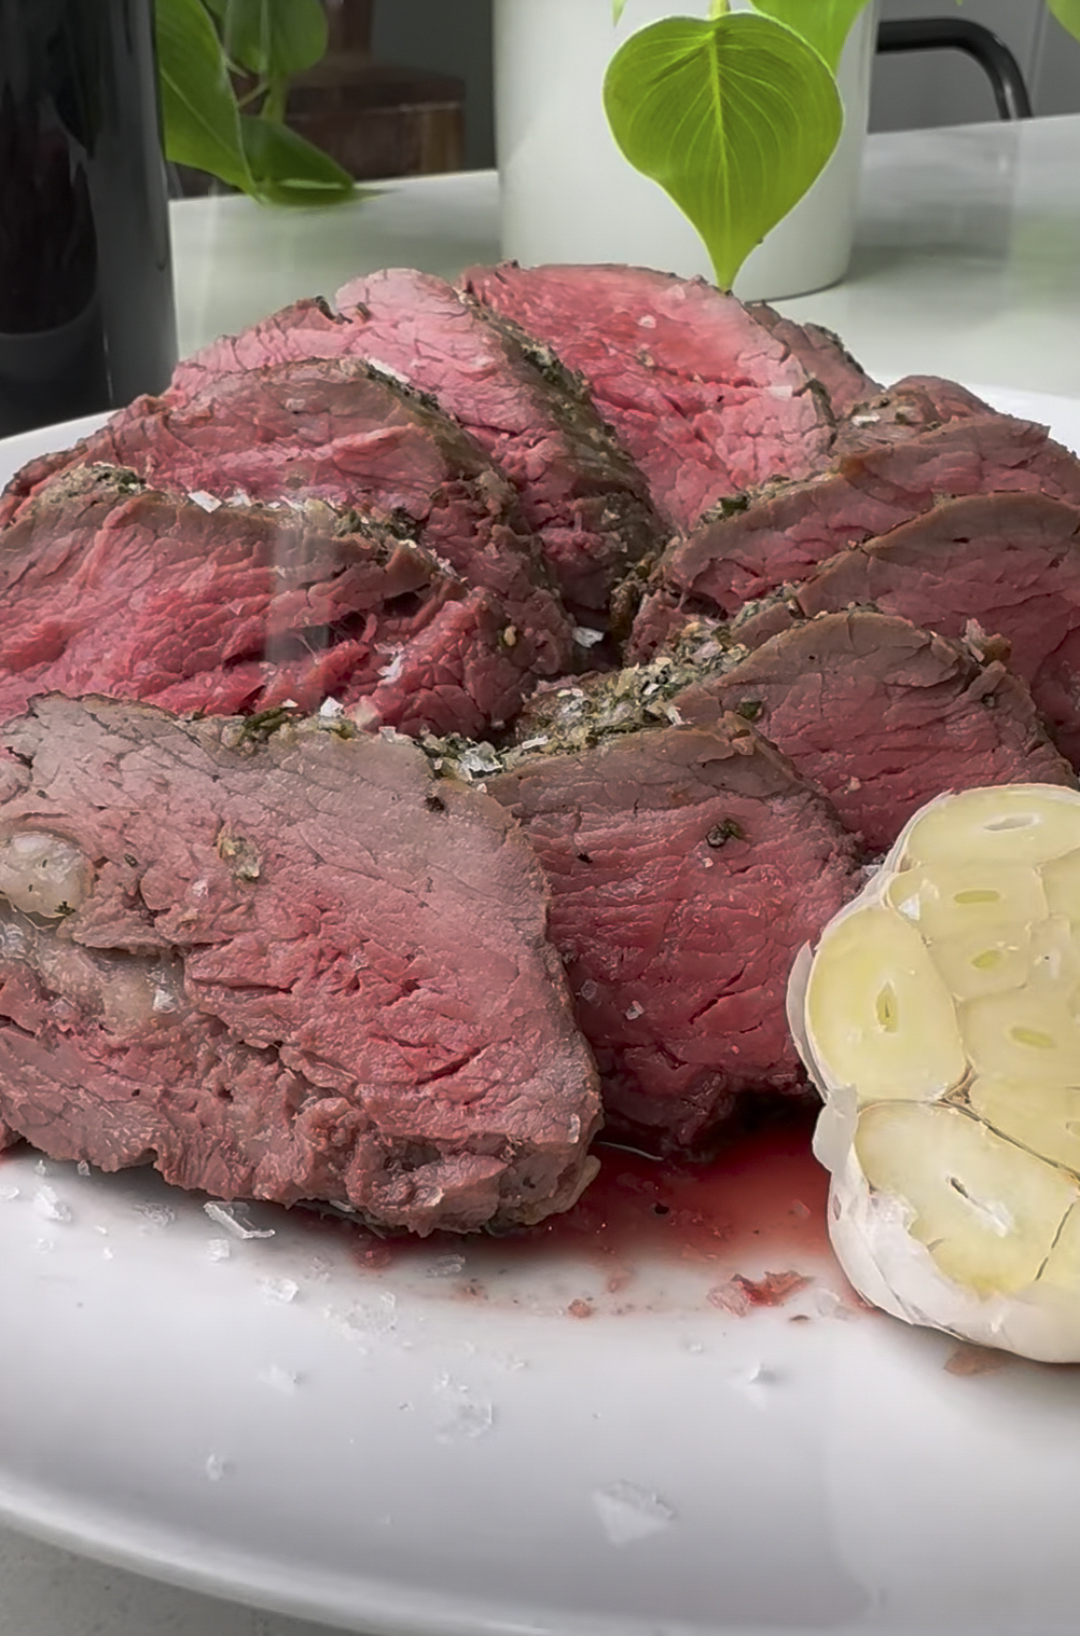
Melt-in-your-mouth beef tenderloin coated in a sizzling rosemary-garlic crust and roasted to juicy perfection.
Ingredients
- 2 pounds center-cut beef tenderloin roast, trimmed and tied
- 6 cloves fresh garlic, minced into a fine paste
- 2 tablespoons fresh rosemary, finely chopped
- 1 tablespoon fresh thyme leaves, minced
- 2 tablespoons extra-virgin olive oil, divided
- 1 1/2 teaspoons coarse kosher salt
- 1 teaspoon freshly cracked black pepper
Necessary Utensils & Equipment
-
-
- 12-inch heavy cast-iron skillet
-
- Instant-read digital meat thermometer
-
- Small mixing bowl
-
- Chef’s knife and cutting board
-
- Kitchen twine (if roast is untied)
-
- Heavy-duty kitchen tongs
-
- Paper towels
-
Instructions
-
- Temper the meat: Remove the beef tenderloin from the refrigerator 45 minutes before cooking. Pat the entire surface completely dry using paper towels.
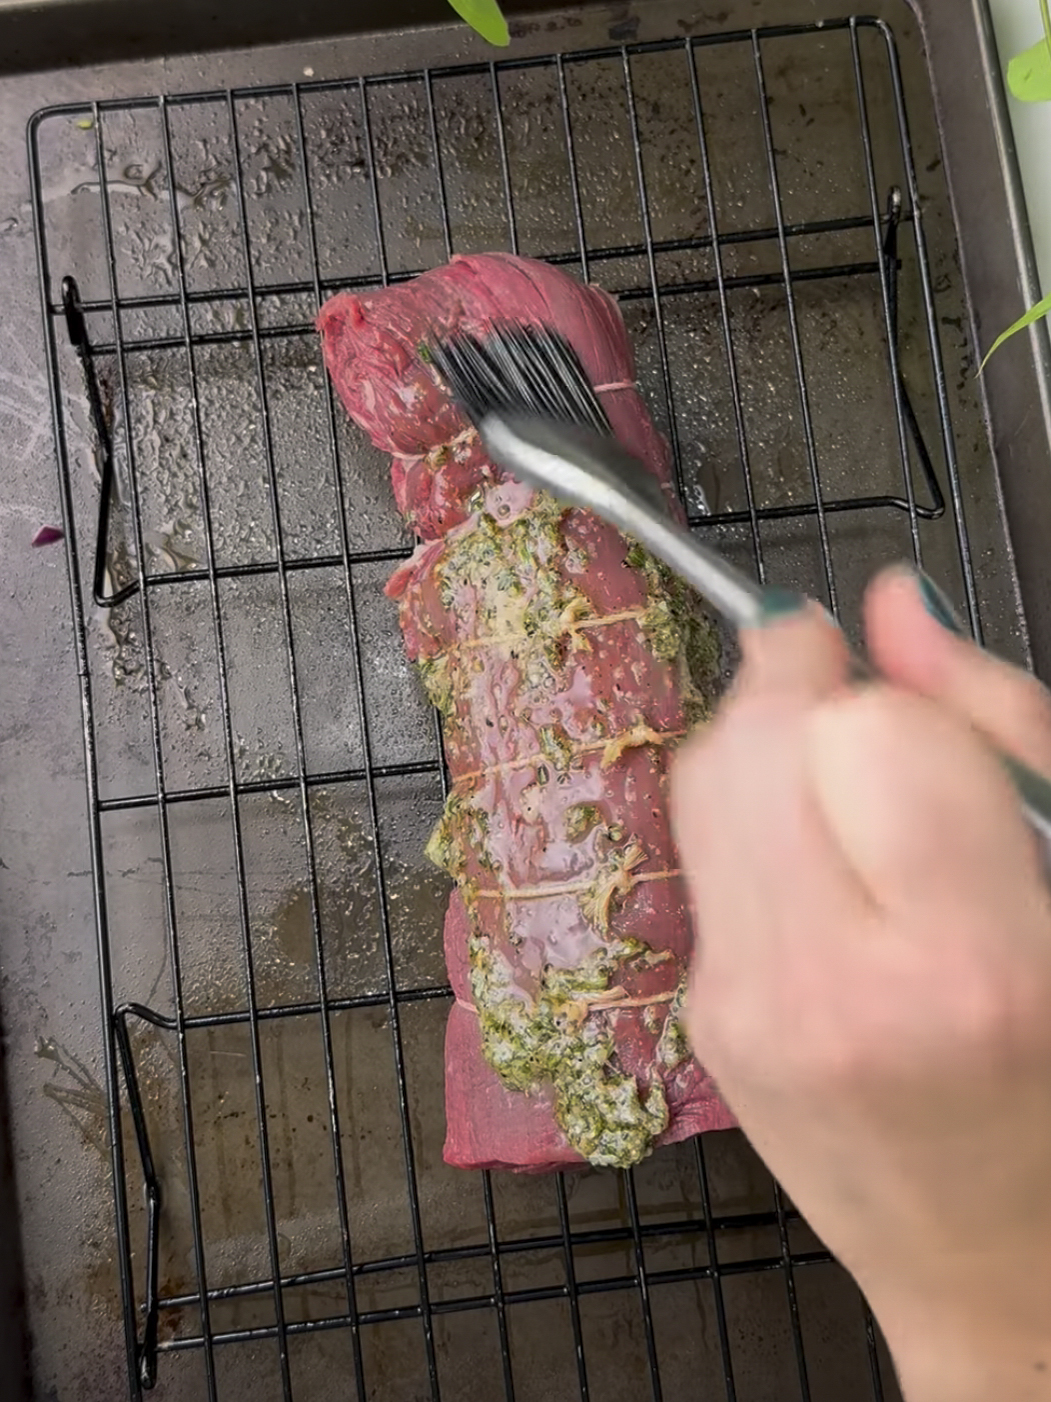
- Mix the garlic-herb paste: In a small bowl, stir together the minced garlic, chopped rosemary, thyme, salt, black pepper, and 1 tablespoon of olive oil until a coarse rub forms.
- Season the roast: Rub the paste evenly across all sides of the beef tenderloin, pressing firmly so the herbs adhere to the surface.
- Preheat oven: Adjust an oven rack to the middle position and preheat your oven to 425°F (218°C).
- Sear the beef: Heat the remaining 1 tablespoon of olive oil in a 12-inch cast-iron skillet over medium-high heat until shimmering. Place the tenderloin into the hot skillet and sear for 2 to 3 minutes per side until a deep golden-brown crust forms on all sides (about 8 minutes total).
- Roast: Transfer the skillet directly into the preheated oven. Roast for 15 to 20 minutes, or until an instant-read thermometer inserted into the thickest part reads 125°F for medium-rare (or 135°F for medium).
- Rest and carve: Remove the skillet from the oven and immediately move the tenderloin to a cutting board. Let it rest undisturbed for 10 to 15 minutes. Snip the twine, slice into 1/2-inch thick medallions, and serve warm.
Mastering the Minimal Prep
Beef tenderloin is a delicately tender cut of meat. Due to not being used much by the steer it has little tough connective tissue. This also means it is a more mild cut of beef. Therefore it doesn’t need a complex marinade with 20 ingredients – using some aromatics will be enough.
I learned this the hard way when I first cooked a tenderloin for my first holiday meal. I marinaded my expensive cut of meat with a rich marinade made up of red wine, soy sauce, brown sugar and Worcestershire sauce. After leaving it to marinade for 2 days my meat had gone grey and was very soft. It tasted like barbeque sauce and not premium beef. I had learnt my lesson with a costly soggy meal.
I always use fresh woodsy herbs and punchy garlic. Using fresh garlic, rosemary, thyme and good quality olive oil will create a paste. This paste will stick to your meat well. As it roasts in the hot pan small pieces of garlic will become toasted creating nutty crunchy pieces. To ensure your roast gets a good sear you must make sure the meat is completely dry. I always use paper towels to pat the meat down before adding my seasoning.
The Pan-Sear and Oven-Roast Technique
You may be wondering why we are searing on the stove rather than roasting in the oven. This is because tenderloin can cook very quickly due to it being lean. If we were to simply roast it in the oven at a medium temperature, the inside of the meat would be cooked to our liking but the outside would not have browned or crisped up. By searing the meat first we create the Maillard Reaction which creates the savoury caramelised crust on the outside.
Once the steak hits our hot cast iron pan you will notice a loud crackling noise. This means water is evaporating and browning is taking place. Carefully flip the meat around with strong tongs. Each side should cook for around 2 minutes before we put the pan in the oven.
The temperature inside the beef will increase by 5-7 degrees whilst the meat is resting on the board. This means we want to take the tenderloin out of the oven just short of our desired temperature.
By placing the whole cast iron pan in the oven the meat will cook to the perfect temperature using the radiant heat from inside the oven. Cooking the meat slowly at a consistent 425F will ensure the centre reaches the desired temperature without losing too much moisture. The meat will cook to a prefect pink colour throughout with a nice crisp edge.
Expert Tips for Success
Cooking tenderloin is more about temperature than time. While the timer on your oven will give you a rough idea of how long to cook for, your meat thermometer is the real deal. Don’t ever rely on time when cooking a premium cut of beef. Every roast will be slightly different in terms of diameter and ovens can often be hotter or cooler than displayed.
Target Temperatures for Beef Tenderloin
- Rare: Pull at 120°F (carries over to 125°F) for a bright red, cool center.
- Medium-Rare: Pull at 125°F to 128°F (carries over to 130°F–135°F) for a warm red, tender center. This is the sweet spot for tenderloin.
- Medium: Pull at 135°F (carries over to 140°F) for a rosy pink center with firmer texture.
- Well-Done: Anything pulled past 145°F will dry out quickly due to the lack of intramuscular fat.
Tying the Roast
Most tenderloins you’ll get at the butcher have a narrow tapered end. To ensure that they cook evenly you want to fold the skinny part under so that all your roast is the same thickness. Secure your meat with kitchen twine spaced out every 1.5 inches. This will ensure even cooking throughout.
The Golden Rule of Resting
As the meat cooks, the juices in the meat will move toward the center of the roast. If you slice your tenderloin right when you take it out of the oven you will lose a lot of those tasty juices. To give your tenderloin time to rest you can let it sit for 10-15 minutes. This will give the muscle fibers time to relax and reabsorb the juices. To keep your meat warm cover it loosely with some aluminium foil.
Flavor Variations and Serving Ideas
While a traditional recipe will always be hard to beat, this can be easily adapted to suit your menu. To give your dish some French country style, stir 1 teaspoon of Dijon mustard with some chopped tarragon into your garlic paste. Or to give a more earthy forest taste, add some finely crushed dried porcini powder to the salt mixture before rubbing onto the beef.
Because the tenderloin cooks entirely in 30 minutes, pick side dishes that you can prepare ahead or finish quickly on the side burner. Here are some of our favorite pairings:
- Sour Cream and Chive Mashed Potatoes: The creamy starch catches every drop of garlicky pan juice.
- Skillet Asparagus with Lemon Zest: Quick, bright acidity cuts right through the rich, savory meat.
- Roasted Honey-Glazed Carrots: Tender root vegetables bring natural sweetness that contrasts the peppery garlic crust.
- Simple Red Wine Pan Sauce: Deglaze your warm skillet with a splash of dry red wine, a pat of butter, and a pinch of minced shallot while the meat rests.
Storage and Reheating Guidelines
Leftover tenderloin means you’ve hit the jackpot! Store the cooked leftovers in an airtight glass container in the fridge for up to four days. Try to leave the leftover tenderloin in one piece to help keep the meat moist.
Reheating tenderloin can be tricky to avoid it becoming overcooked. Avoid using a microwave as it will result in uneven heating and will make the tender meat go grey and rubbery after only seconds. Place the slices onto a wire rack within a rimmed baking tray and bake in the oven at 250°f for 10-12 minutes. Alternatively, if you leave the tenderloin cold and slice super thinly you’ll have one of the best steak sandwiches you’ll ever eat. Serve with lots of crusty sourdough, horseradish mayonnaise and baby arugula.
Frequently Asked Questions
Can I make this roast ahead of time for guests?
You can season the roast with the garlic-herb paste up to 12 hours in advance and keep it uncovered in the fridge. This actually acts as a quick dry brine, deepening flavor and drying out the exterior for an even better crust. Pull it out 45 minutes before cooking so it loses its chill, then sear and roast as directed right before serving.
What if I do not own an oven-safe cast-iron skillet?
You can sear the beef tenderloin in any standard heavy stainless-steel frying pan on your stovetop. Once browned on all sides, simply transfer the roast onto a rimmed baking sheet lined with foil or parchment paper and place it into your preheated oven to finish cooking.
Do I really need to use fresh herbs instead of dried?
Fresh rosemary and thyme make a dramatic difference in this recipe. Dried herbs can burn and turn bitter during the high-heat stovetop sear. Fresh minced herbs retain their oils, stick better to the meat, and release a pleasant garden aroma as the roast browns.
How much beef tenderloin should I buy per person?
Plan on roughly half a pound (8 ounces) of uncooked trimmed beef tenderloin per person. A two-pound roast comfortably feeds four adults with modest sides, or three adults with healthy appetites. If serving a larger crowd, roast two identical-sized cuts side by side rather than one massive, uneven log.
Have you tried roasting your tenderloin using this skillet-to-oven method, or do you have a favorite family herb blend you swear by? Leave a comment below and share your kitchen results!