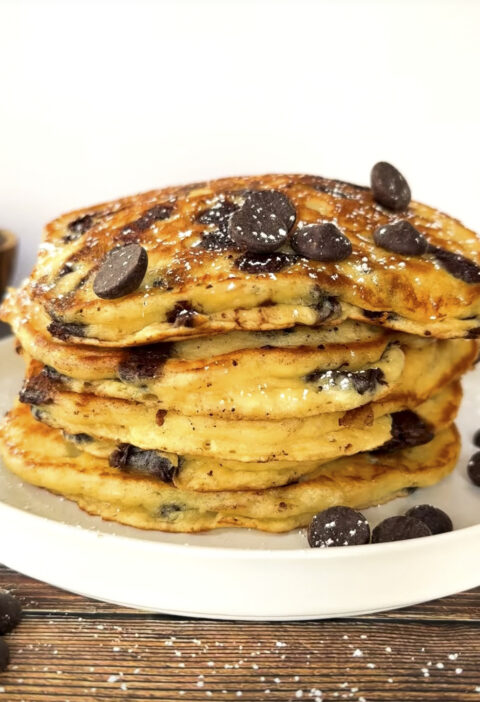

The combination of dark brown sugar, flaky sea salt and earthy roasted squash make for a perfectly balanced breakfast on a cold morning. As you cook the waffles and the steam rises into the air along with the cinnamon and ginger scents, you can really appreciate the sweet and salty elements. Many autumn breakfasts are overly sweet and lack any structure. The rich pumpkin puree and strong spices work well together with the rich butter.
Many people struggle to make good pumpkin waffles at home. Pumpkin puree can add plenty of moisture to a batter. To create a nice crisp outside to your waffles you will need to get rid of some of that extra moisture. With a couple of changes to your dry ingredients and batter, you’ll never be disappointed again with your soggy waffles.
Key Takeaways
Crispy Pumpkin Spice Belgian Waffles
Deep golden pockets infused with warm spices and real pumpkin, baked to an audible crunch.
Ingredients
-
-
- 1 3/4 cups all-purpose flour
-
- 1/4 cup cornstarch
-
- 2 tablespoons dark brown sugar, packed
-
- 1 tablespoon baking powder
-
- 1/2 teaspoon baking soda
-
- 1 1/2 teaspoons ground cinnamon
-
- 1/2 teaspoon ground ginger
-
- 1/4 teaspoon ground nutmeg
-
- 1/8 teaspoon ground cloves
-
- 3/4 teaspoon fine sea salt
-
- 3 large eggs, separated
-
- 1 cup whole milk, room temperature
-
- 1/2 cup canned pure pumpkin puree (not pie filling)
-
- 1/3 cup unsalted butter, melted and cooled slightly
-
- 1 teaspoon pure vanilla extract
-
Necessary Utensils & Equipment
-
-
-
- Belgian waffle iron (deep-pocket model preferred)
-
- Two large mixing bowls
-
- One medium mixing bowl
-
- Whisk
-
- Electric hand mixer or balloon whisk for egg whites
-
- Rubber spatula
-
- Baking sheet fitted with a wire cooling rack
-
-
Instructions
-
-
-
- Preheat your oven to 225°F (110°C) and place a wire cooling rack on top of a rimmed baking sheet inside. Preheat your Belgian waffle maker to medium-high heat.
-
- In a large bowl, whisk together the flour, cornstarch, dark brown sugar, baking powder, baking soda, cinnamon, ginger, nutmeg, cloves, and sea salt. Break up any small clumps of brown sugar with your fingers.
-
- In a separate medium bowl, combine the egg yolks, whole milk, pumpkin puree, melted butter, and vanilla extract. Whisk until completely smooth.
-
- In a clean, dry bowl, beat the three egg whites with a hand mixer on medium-high speed until stiff peaks form. You want them firm enough that they hold their shape when you lift the beaters, but not dry or grainy.
-
- Pour the pumpkin and yolk liquid into the dry flour mixture. Stir with a rubber spatula just until combined; a few small flour streaks should remain. Do not overmix.
-
- Add one-third of the beaten egg whites to the batter and stir gently to lighten the base. Then, gently fold in the remaining egg whites with your spatula using sweeping, circular motions until no large white clumps remain.
-
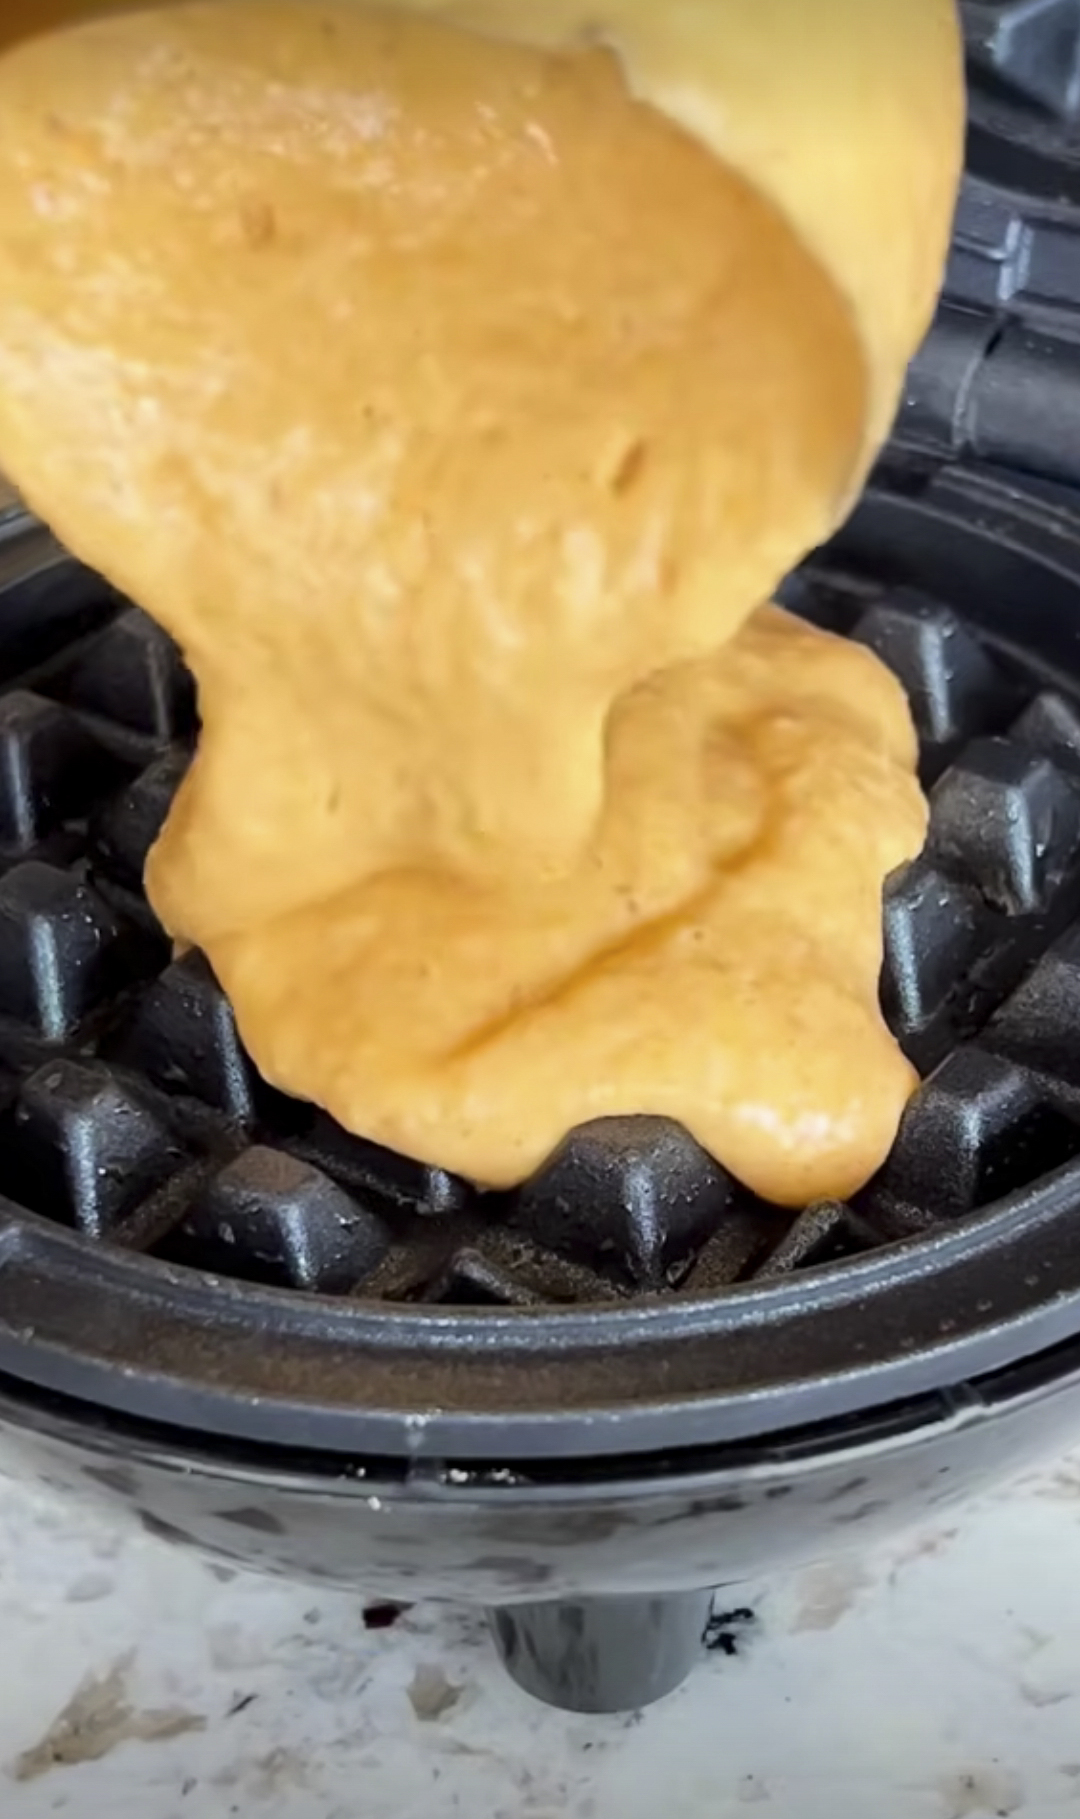
- Lightly brush or spray the waffle iron plates if your manufacturer recommends it. Ladle roughly 1/2 to 2/3 cup of batter (depending on your iron’s size) onto the center of the iron. Close the lid immediately.
-
- Cook for 5 to 6 minutes, resisting the urge to open the iron early. Look for the steam escaping the edges to slow to a faint trickle before lifting the lid. The waffle should look deep amber-brown and feel firm to the touch.
-
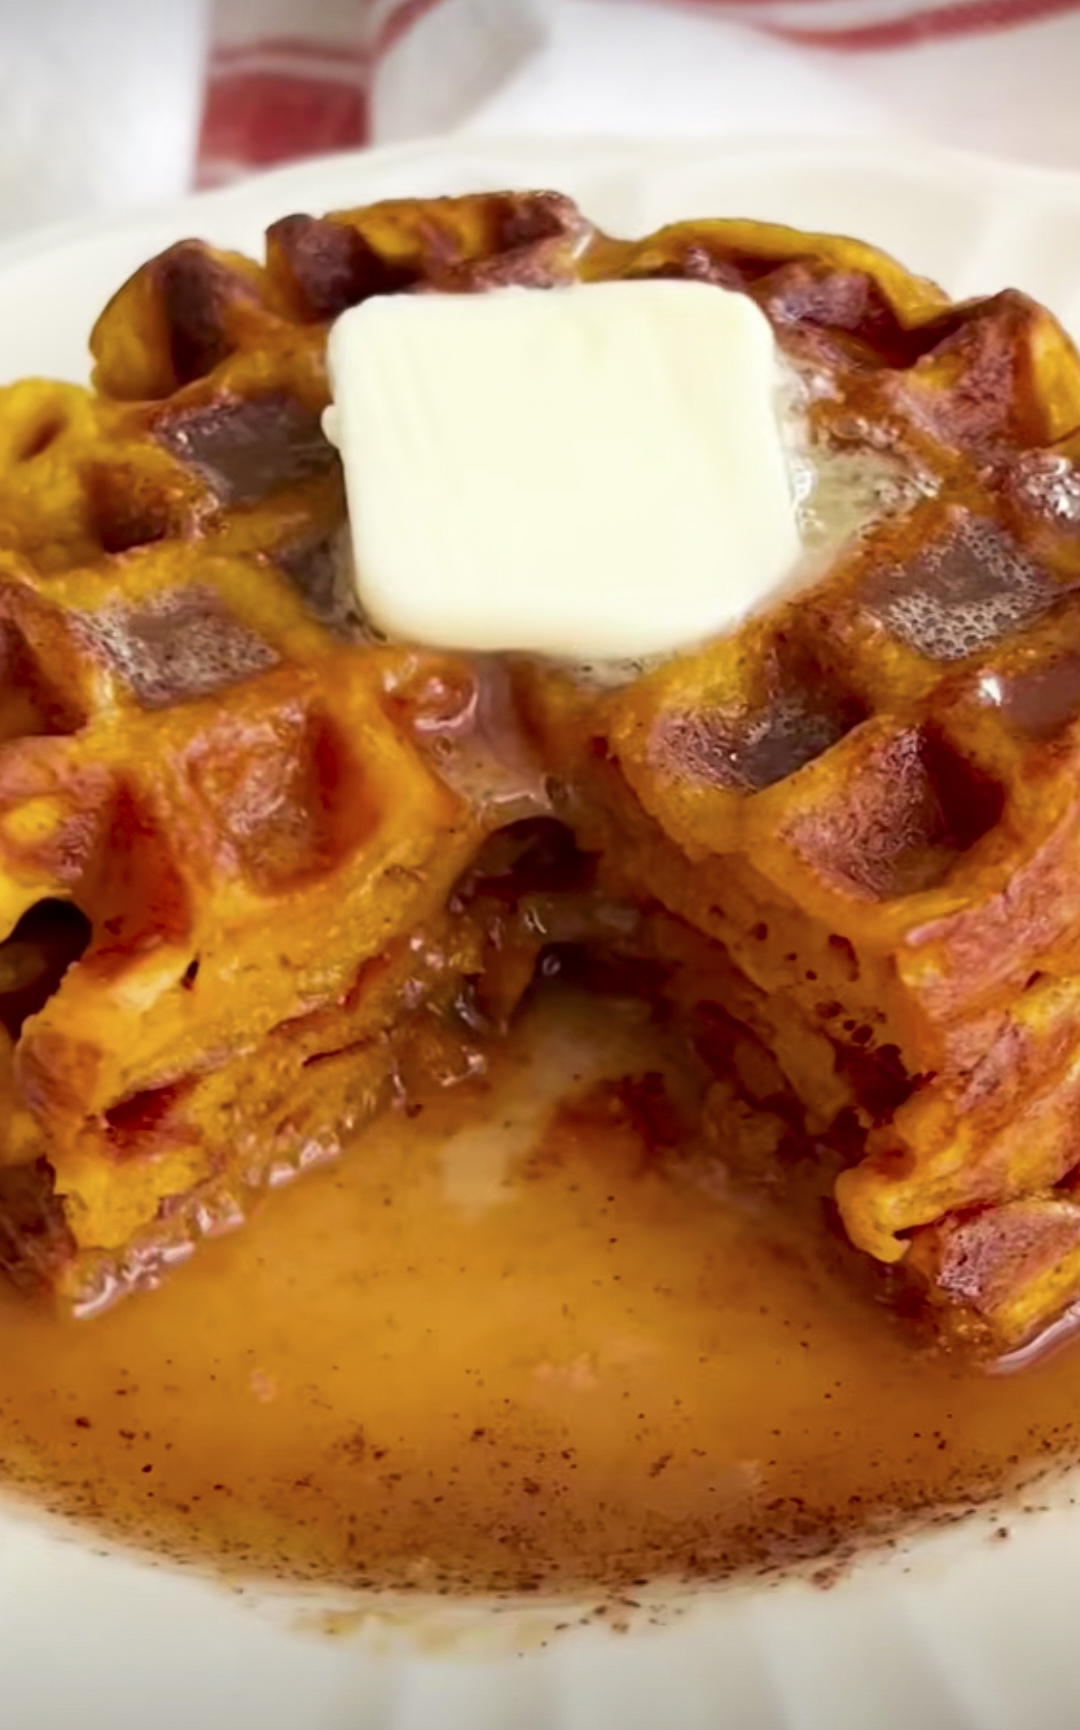
- Transfer the baked waffle directly onto the wire rack in your preheated oven to maintain crispness while you finish baking the remaining batter. Serve warm with butter and pure maple syrup.
-
-
The Egg White Debate: Do You Really Need to Whip Them?
Have you ever looked up a waffle recipe on the weekend and wondered if separating eggs and beating the whites were actually necessary? Or just a fancy kitchen trick?
When making these pumpkin waffles for the first time I decided to be lazy and just added the eggs whole into the milk and pumpkin mixture. I mixed everything together and put onto the hot iron. What I ended up with was a very heavy and dense waffle. They had the texture and taste of a cold pumpkin pie filling with a sad, flat crust. Not only does beating the egg whites make them look nice, but helps create a light batter by creating a cellular structure.
The pumpkin puree adds a lot of weight to the batter. By beating the egg whites to stiff peaks, you are trapping lots of small air bubbles within the elastic protein structure. Folding these into the dense flour and pumpkin mix creates lots of quick expansion when cooked. This makes the outside of the waffle puff up against the hot iron plates.
Pro Tip: Ensure your egg white bowl is completely free of grease or stray yolk. Even a microscopic droplet of fat will prevent the egg white proteins from building the stable foam needed to lift this batter.
The Cornstarch Secret for Lasting Exterior Crunch
Standard plain flour contains proteins which create gluten. Whilst this is great at creating chewy sourdough breads or chewy pizza bases, it can work against you when making a crispy waffle.
Adding cornstarch to your flour mix will lower the amount of gluten in the recipe. Cornstarch attracts moisture quickly and doesn’t bond well with proteins. This creates a thin, crispy crust. If you have ever made a waffle and watched it go soggy within 2 minutes after taking it off the waffle iron, this is because it has too much gluten and steam.
Here is what happens when you substitute cornstarch into the dry blend:
- The starch gelatinizes quickly against the hot iron, forming a rigid outer wall.
- Moisture stays trapped inside the interior crumb, keeping the center tender and custard-like.
- The waffle stays crunchy on the cooling rack for upwards of twenty minutes instead of going soggy.
Moisture Control: Pumpkin Puree Pitfalls
Pumpkin purée can vary greatly depending on the brand of canned pumpkin that you buy. Do not get confused and buy canned pumpkin pie filling as this has added sugar and flavouring. The water content will vary between brands.
If you have some liquid collecting around the edges of the can when you scoop out the pumpkin purée then your batter will not be able to become crispy. When you measure out your 1/2 cup of purée then place it into 3 layers of kitchen roll on top of a plate. Leave it to stand for 5 minutes and lightly pat dry. This removes just a little extra liquid and has a huge impact on the outside layer.
As soon as you put your batter onto the hot metal there will be a noticeable difference. The dry concentrated purée allows the butter to caramalise with the sugars from the milk to create some delicious amber lines. Whereas a wet batter will just sizzle away on the iron leaving you with pale holes and an unpleasant texture.
Troubleshooting and Storing Your Belgian Waffles
Even with great ingredients, small mistakes at the griddle can undo your hard work. Let’s walk through how to navigate common issues and keep your leftovers tasting freshly made.
Be sure to avoid the Soggy Steam Trap!
Never place hot waffles directly on top of each other on a plate. The trapped heat will result in condensation between them causing them to go soggy within 60 seconds. Allow cooked waffles to cool down on a wire rack set in a warm oven (200-225F). This will ensure that any surface moisture evaporates off the waffles and keep them very hot inside whilst they finish cooking.
How to Know When They Are Done
Don’t worry about the little green light. Most built-in timers are designed for regular thin batters but there is more liquid in the pumpkin so you will need to cook it for a minute or two longer. Instead just look out for the steam. When you stop seeing the steam coming out of the side vents and see just a little wispy bit, then you know it’s ready.
Freezing and Reheating for Weekdays
Freeze these waffles. Let them come all the way back to room temperature on a wire rack. Spread them out onto a sheet tray and freeze for one hour. Once they’re frozen, pop them into a ziplock freezer bag along with some parchment paper in between each waffle.
They won’t be good in the microwave. Pop these frozen waffles into a toaster on a medium low setting and toast for two cycles. Or pop them onto a wire rack and bake at 350F (175C) for 8-10 mins. They’ll come out just as crispy as when you first made them!
Frequently Asked Questions
Can I make the waffle batter the night before?
You can mix the dry ingredients and the wet ingredients separately the night before and store the wet mix in the refrigerator. However, do not combine them or whip the egg whites until you are ready to heat the iron. Whipped egg whites deflate quickly, and the leaveners lose their lifting power if left sitting overnight.
Can I substitute buttermilk for whole milk?
Yes, buttermilk works very well. If you make this swap, reduce the baking powder to two teaspoons and increase the baking soda to one full teaspoon to neutralize the extra acidity in the buttermilk. The resulting waffle will have a slightly tangier flavor profile.
Why did my waffles stick to the iron?
Sticking usually happens for two reasons: opening the iron too early before the batter sets, or a lack of fat in the iron’s surface. Even with nonstick irons, brush the plates lightly with neutral oil or melted butter before cooking the first waffle. Give the batter enough time to form a firm crust before lifting the lid.
Can I use pumpkin pie spice instead of individual spices?
You can substitute 2 1/2 teaspoons of pre-mixed pumpkin pie spice for the cinnamon, ginger, nutmeg, and cloves listed in the recipe. Just ensure your spice blend is fresh, as ground spices lose their aromatic punch after six months in the pantry.
What toppings are you planning to put on your first batch? Let me know in the comments below!