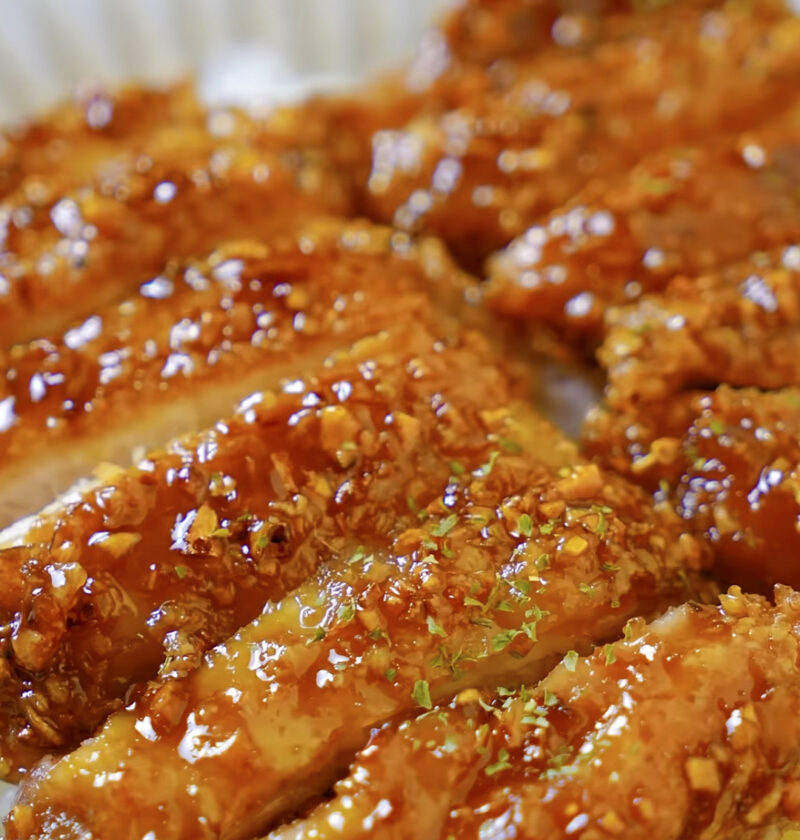
Cooking chicken can be difficult, since there is a lot of room for mistakes. These indicators will assist you in the process and make sure you do not get disappointed by undercooked meat. You will know it is time to turn the chicken, when the edges become translucent and the sound changes to a subtle sizzle. When the glaze stops running down the pan in thin streams and starts to bubble up in small patches of glistening amber, you should almost be done with incredible chicken dish. I assure you that focusing on the progress in the pan will guarantee you tender, juicy meat covered with a delightful caramelized crust every time.
Key Takeaways
Crispy Honey Garlic Chicken
Golden bite-sized poultry tossed in a sticky, bubbling honey reduction bursting with fresh garlic.
Ingredients
- 1.5 lbs boneless skinless chicken thighs or breasts, cut into bite-sized pieces
- 0.5 cup cornstarch
- 6 cloves garlic, finely minced
- 0.33 cup pure honey
- 3 tablespoons low-sodium soy sauce
- 3 tablespoons neutral cooking oil (such as avocado or canola oil)
- 0.5 teaspoon kosher salt
- 0.5 teaspoon cracked black pepper
Necessary Utensils & Equipment
-
-
- Large cast iron skillet or heavy-bottomed frying pan
-
- Tongs
-
- Medium mixing bowl
-
- Small whisk
-
- Paper towels
-
- Measuring cups and spoons
-
Instructions
-
- Pat the chopped chicken completely dry with paper towels to eliminate surface moisture. Season with salt and black pepper.
- Toss the chicken cubes into the bowl with cornstarch, pressing gently to make sure every side receives an even coating. Shake off any excess dust.
- Heat cooking oil in your large skillet over medium-high heat until it shimmers across the surface.
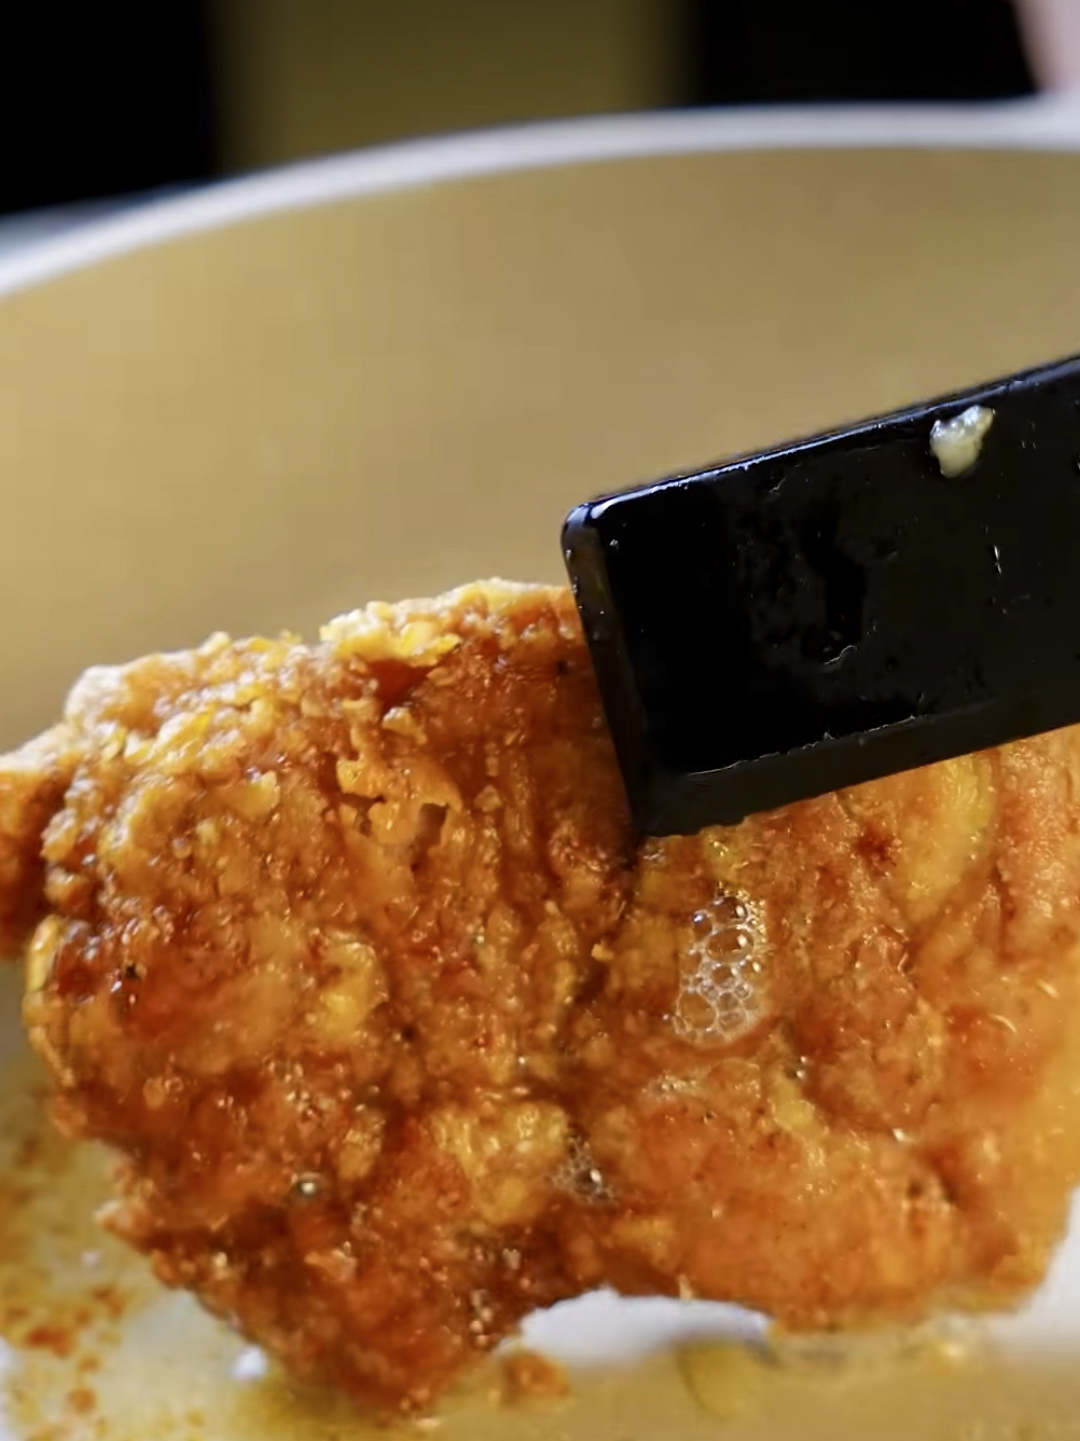
- Add the chicken in a single layer, making sure the pieces do not touch. Fry for 4 to 5 minutes undisturbed until deep golden brown on the bottom.
- Flip using tongs and cook for another 3 to 4 minutes until thoroughly cooked through and crispy on all sides. Transfer to a paper towel-lined plate.
- Wipe out any burnt crumbs from the pan, leaving a thin sheen of oil. Reduce the heat down to medium-low.
- Add the minced garlic, stirring constantly for 30 seconds until fragrant without letting it scorch.
- Whisk in the honey and soy sauce. Simmer the liquid for 2 minutes until thick, sticky, and foaming with glossy bubbles.
- Return the crispy chicken directly into the pan. Toss vigorously for 30 to 45 seconds until every nugget glistens with sauce, then take off the heat immediately.
The first time I made it, in a mad panic to get something edible on the table after work, I crowded the pan with all the meat. The resulting trapped steam turned my wonderful, crisp coating into a damp, gooey mess that slid right off the meat.
Learning from my mistake, the next time I made this dish, I left more room on the pan for each batch of meat. The improvement was dramatic. Cooking the meat in two batches allowed it to brown thoroughly and created a satisfying, audible crunch when pierced with a fork. You’ll never order takeout again after discovering how easy it is to make restaurant-style dishes at home.
The Secret to Extra Crunch
The key is to remove moisture from raw chicken before adding it to the hot fat, otherwise, the bird will steam instead of fry. To do this, you need to dry the meat with paper towels.
Using cornstarch is a good choice to get a crispy crust. Unlike regular flour, it contains a starch that, when heated, puff up and create a light and crispy shell. The protein in flour, gluten, will absorb the sauce and swell when exposed to fat, resulting in a dense and unpleasant consistency.
Pro Tip: Whisk your honey and soy sauce together in a small prep bowl before lighting the stove. Garlic turns bitter fast when burned, so having your liquids ready lets you stop the garlic from scorching at just the right second.
How Five Pantry Ingredients Create Big Taste
You do not need a complicated shopping list to pull off an incredible dinner. This entire dish relies on five primary ingredients working together to strike a balance between sweet, savory, pungent, and rich notes.
- Chicken Thighs or Breasts: Thighs remain intensely juicy under heat, while breasts offer a clean flavor that lets the glaze shine.
- Cornstarch: The true hero for the light, crackly coating that seals in juices while holding the sauce.
- Fresh Garlic: Mincing fresh cloves releases pungent allicin that mellows into aromatic sweetness when hitting warm oil.
- Honey: Creates the natural body of our sticky glaze while providing floral sweetness.
- Soy Sauce: Brings deep savory umami and saltiness to counterbalance the natural sugars of the honey.
Skillet Searing vs. Oven Baking
While frying in a shallow layer of oil produces the crunchiest results, baking or air-frying offers an easy hands-off alternative. Choosing between these preparations depends entirely on your weeknight schedule and how much oil you prefer using.
If you pick the oven route, place a wire rack directly over a rimmed baking sheet. This setup allows hot air to circulate freely beneath the meat, preventing the underside from growing soggy while it bakes.
Expert Tips for Troubleshooting and Storage
Timing the final toss is crucial. Toss the fried chicken in the sauce for under a minute to protect the crunchy skin. Leaving the meat stewing in liquid over active heat breaks down the starch coating rapidly.
Adjusting Consistency
If your sauce looks too watery, keep simmering it without the poultry for another sixty seconds. You will see large bubbles turn into tight, foaming pearls, signaling excess water has evaporated. If the glaze thickens into hard candy, quickly whisk in a tablespoon of warm water to loosen the sugars.
Storing and Reheating
Cool down any uneaten portions to room temperature before storing them in an airtight glass container. Keep the dish in the fridge for no more than four days.
It is not recommended to reheat the food in the microwave, as microwaves eliminate starch by creating steam, and you will be left with a mushy and bland chicken dish. Instead, heat your leftovers in an oven or air fryer at 375 degrees Fahrenheit for five minutes to restore the crispness of the chicken’s skin.

Frequently Asked Questions
Can I substitute chicken breast for chicken thighs?
Yes, boneless skinless chicken breasts work wonderfully. Cut them into uniform bite-sized cubes and reduce the cook time slightly by about two minutes. Breasts dry out quicker than dark meat, so pull them off the stove as soon as the center reaches 165°F.
Why won’t my chicken stay crispy after saucing?
The chicken will lose its crunch if you coat it while wet or simmer it inside the sauce for too long. Coat each piece heavily in cornstarch and merely toss the bites in the simmering glaze until coated, taking the pan off the burner right away.
Can I make this dish gluten-free?
You can make this entirely gluten-free with one simple swap. Replace standard soy sauce with equal parts tamari or coconut aminos. Cornstarch is naturally grain-free and gluten-free, so the crunchy crust stays completely safe for sensitive diets.
Did your batch turn out shatteringly crisp? Tell me your favorite side dish to serve with this skillet dinner in the comments below!