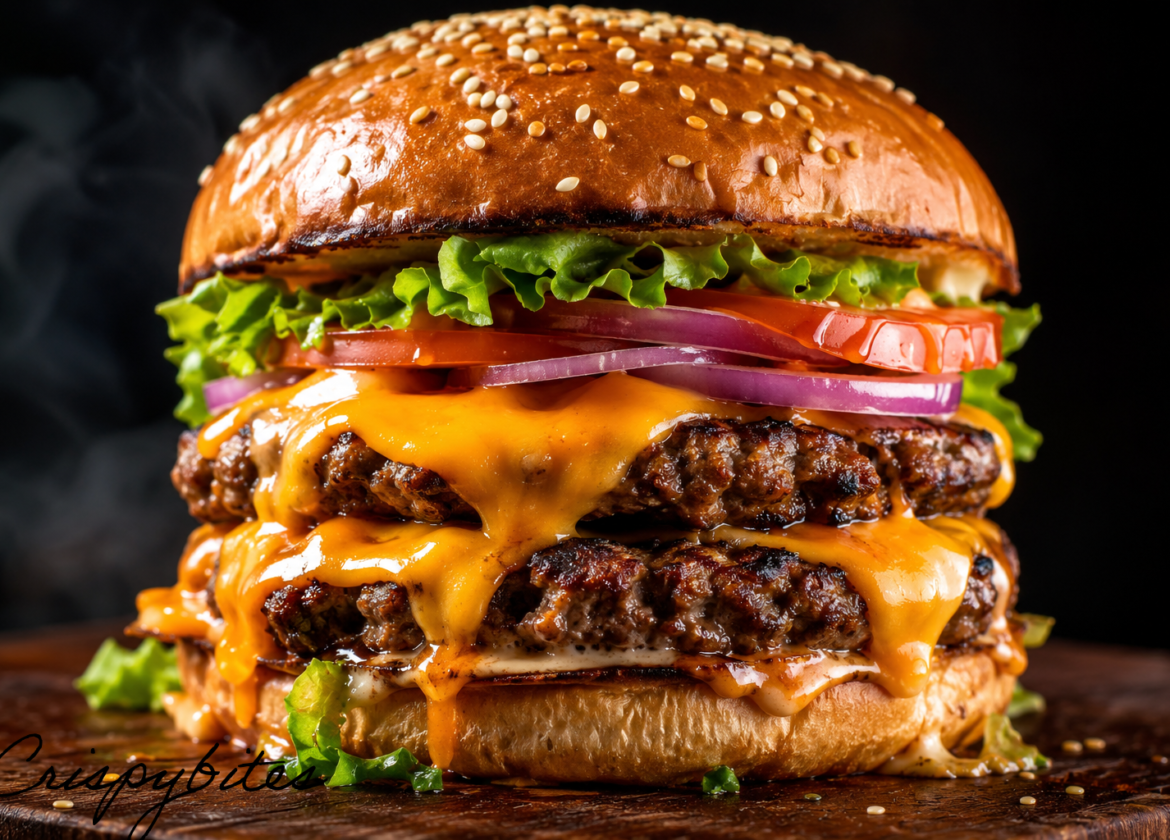
Honestly, there’s nothing quite like a really good homemade cheeseburger. Forget those drive-thru regrets – we’re talking about a burger that’s juicy, cheesy, and packed with so much flavor it makes your taste buds sing. You know the kind I mean? The one that drips a little, has that perfectly melted cheese, and a bun that holds it all together without getting soggy.
This isn’t just another burger recipe; it’s *the* recipe for when you want maximum deliciousness with minimum fuss. We’re keeping it simple, focusing on core flavors and textures that make all the difference. In about 25 minutes, you can have restaurant-worthy cheeseburgers on your table, ready to wow your family or friends. Let’s make some burger magic!
Chees Beef Burger
Ingredients
-
-
- 1.5 lbs (about 680g) 80/20 ground beef
-
- 1 tsp salt
-
- 0.5 tsp black pepper
-
- 0.5 tsp garlic powder (optional, but highly recommended)
-
- 0.5 tsp onion powder (optional)
-
- 4 slices American or cheddar cheese
-
- 4 burger buns, preferably brioche
-
- 1 tbsp butter or olive oil for toasting buns
-
- Toppings: Lettuce, sliced tomatoes, red onion, pickles
-
- Condiments: Ketchup, mustard, mayonnaise
-
Instructions
-
-
- Prep the Patties: Gently divide the ground beef into 4 equal portions. Form each portion into a flat patty, about 1/2 inch thick and slightly wider than your burger bun. Make a shallow thumbprint indentation in the center of each patty – this helps them stay flat and juicy as they cook.
-
- Season: Sprinkle both sides of each patty generously with salt, black pepper, garlic powder, and onion powder (if using). Don’t be shy with the seasoning; it makes a huge difference!
-
- Heat the Pan: Heat a large cast-iron skillet or heavy-bottomed pan over medium-high heat. You want it nice and hot to get a good sear.
-
- Toast the Buns: While the pan heats, melt butter or drizzle olive oil in a separate small skillet or on a griddle. Lightly toast the cut sides of your burger buns until golden brown. This creates a barrier against sogginess and adds flavor. Set aside.
-
- Cook the Burgers: Place the seasoned patties in the hot skillet. Cook for 3-4 minutes per side for medium doneness. For a smash burger effect, press them down gently with a spatula for the first minute.
-
- Add the Cheese: During the last minute of cooking, place a slice of cheese on top of each patty. You can cover the skillet with a lid for about 30 seconds to 1 minute to help the cheese melt perfectly and get wonderfully gooey.
-
- Assemble and Serve: Remove patties from the pan. Place a cheesy burger patty on the bottom half of each toasted bun. Load it up with your favorite toppings like crisp lettuce, juicy tomato slices, thin red onion rings, and tangy pickles. Spread your chosen condiments on the top bun. Serve immediately and enjoy that first glorious bite!
-
Expert Tips for Success: Making Your Burger Truly Unforgettable
Making a great cheeseburger isn’t just about following steps; it’s about understanding a few key principles. Seriously, these little insights can take your burger game from good to absolutely amazing.
Choosing the Right Beef for Your Burger
The kind of ground beef you pick makes a huge impact on the final product. We’re looking for flavor and juiciness, which means fat is your friend here.
- 80/20 Ground Chuck: This is my go-to and what I recommend. The 80% lean, 20% fat ratio gives you a ton of flavor and keeps the burger wonderfully moist. It also crisps up beautifully on the outside.
- Don’t Go Too Lean: While 90/10 might sound healthier, you’ll end up with a drier burger that lacks that classic beefy flavor. Save the leaner cuts for things like chili or tacos.
The Art of Patty Perfection
How you handle the meat before it hits the pan is more important than you might think.
- Gentle Hands: When forming your patties, be gentle! Overworking the meat can make your burgers dense and tough. Just bring the meat together enough so it holds its shape.
- The Thumbprint Trick: Remember that little indent? It’s a game-changer. Burgers tend to plump up in the middle as they cook, turning into little meatballs. The thumbprint counteracts this, keeping your patties flat and perfect for stacking.
- Season generously just before cooking. Salt draws moisture out, so if you salt too early, your patties could dry out. A minute or two before cooking is ideal.
Pro Tip: For the ultimate cheesy melt, place the cheese on the patty during the last minute of cooking. A quick cover with a lid will create a steamy environment, melting the cheese into a glorious, gooey blanket.
Pan Frying vs. Grilling: What’s the Best Approach?
While grilling offers a smoky flavor, pan-frying in a cast iron skillet often delivers a better crust and juicier interior for classic cheeseburgers.
- Cast Iron’s Magic: A well-seasoned cast iron skillet gets incredibly hot and holds that heat. This allows for a fantastic sear, creating that dark, flavorful crust (the Maillard reaction, if you’re curious!) that’s hard to achieve elsewhere.
- Even Heat Distribution: On a grill, flare-ups can be a problem. In a pan, you have more control over the heat, ensuring your burgers cook evenly without burning.
The Toasted Bun Factor
Seriously, don’t skip toasting your buns. This isn’t just for show; it’s absolutely crucial.
- Prevents Sogginess: A toasted bun acts as a shield against the burger’s juices and condiments. Nobody wants a soggy burger bottom, right?
- Adds Texture and Flavor: That slight crispness and buttery taste instantly upgrade the entire experience. Brioche buns are fantastic for their richness and soft texture, but a good potato bun or classic sesame seed bun works too. Just toast it!
Flavor Variations to Keep Things Interesting
While the classic cheeseburger is king, it’s fun to mix things up sometimes.
- Spice it Up: Mix a pinch of cayenne pepper or a dash of hot sauce into your ground beef before forming patties for a kick. Or add sliced jalapeños as a topping.
- Onion Lovers: Sautéed onions or caramelized onions add a wonderful sweetness and depth. Just cook them down in a separate pan until golden and soft.
- Mushroom & Swiss: Sauté some sliced mushrooms until tender, then top your burger with them and a slice of Swiss cheese for a rich, savory twist.
- Bacon Cheeseburger: Fry up some crispy bacon, chop it, and add it under the cheese or on top with your other toppings. It’s a classic for a reason!
Storage and Reheating
Sometimes you have leftovers, or you’re planning ahead.
- Cooked Patties: Store cooked, cooled burger patties in an airtight container in the fridge for up to 3-4 days.
- Reheating: The best way to reheat a cooked patty is gently in a skillet over low heat, or in a microwave for a minute or two. You won’t get the same fresh-cooked texture, but it’ll still be tasty. I wouldn’t recommend reheating with the cheese already melted on it if you can avoid it; it’s better to add fresh cheese during reheating if you can.
- Uncooked Patties: If you’ve formed patties but haven’t cooked them yet, you can refrigerate them for up to 24 hours, covered. For longer storage, freeze them individually on a baking sheet until firm, then transfer to a freezer-safe bag or container for up to 3 months. Thaw in the fridge before cooking.
When was the last time you had a truly amazing homemade burger? What’s your secret ingredient for patty perfection? Let us know in the comments below!