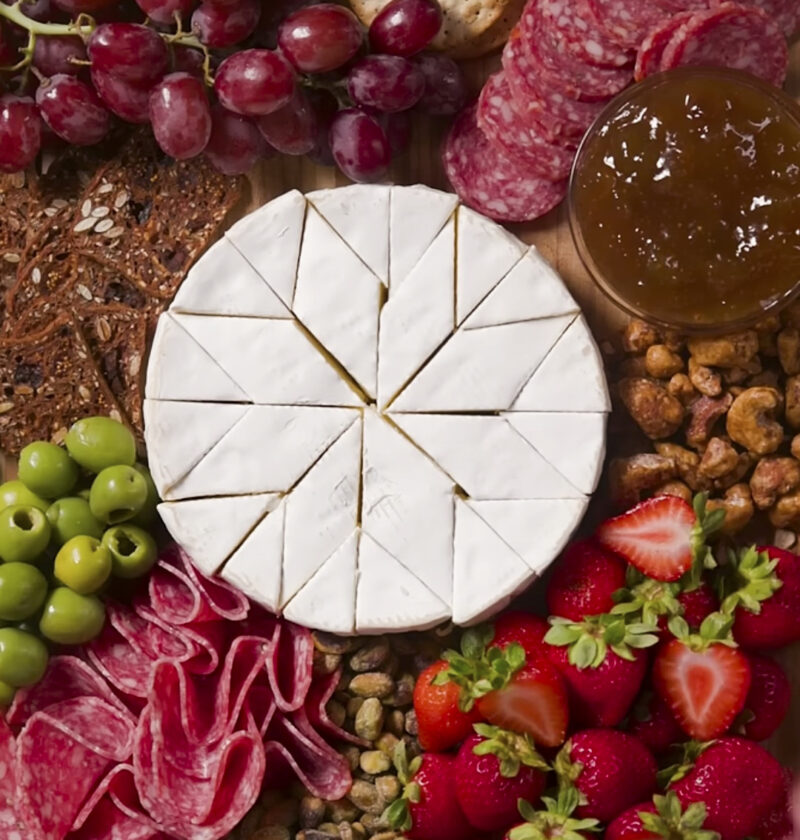
After experimenting with ovens, stovetop skillets, air fryers and outdoor grills, we have come up with a brilliant way to make your party platters. Cold cheese platters are great, but when paired with some warm and smoky elements off the patio grill, it really takes the party platter to another level! Having a wheel of cedar plank grilled Brie, alongside some crispy air fried prosciutto cups and blistered grapes will have your guests lining up to taste!
The heat helps bring out the oils in the aged cheeses, melts the creamy rind and creates a perfect crisp texture on the cured meats. The difference between hot and cold, crispy and creamy and sweet and savory makes it a fun and interactive snack that can be enjoyed on your patio or living room table.
Key Takeaways
The Ultimate Viral Holiday Charcuterie and Cheese Board Guide
A show-stopping spread featuring warm cedar-plank grilled Brie, air-fried prosciutto bites, and golden toasted crostini alongside artisanal meats and sharp cheeses.
Ingredients
-
-
- 1 wheel (8 oz) Brie cheese
-
- 1 untreated cedar plank, soaked in water for 1 hour
-
- 8 oz sharp white cheddar cheese, sliced into triangles
-
- 6 oz smoked Gouda, cubed
-
- 4 oz fresh goat cheese log, rolled in crushed pistachios
-
- 6 oz prosciutto slices
-
- 6 oz Genoa salami, sliced thin
-
- 4 oz spicy capicola
-
- 1 cup seedless red grapes, tossed in olive oil
-
- 1 cup fresh figs, halved
-
- 1/2 cup candied walnuts or pecans
-
- 1/2 cup raw honeycomb or honey
-
- 1/2 cup dark fig jam or plum preserves
-
- 1 French baguette, sliced into 1/2-inch rounds
-
- 2 tbsp extra virgin olive oil
-
- 3 sprigs fresh rosemary, for garnish
-
Necessary Utensils & Equipment
-
-
-
- Outdoor Gas or Charcoal Grill
-
- Air Fryer
-
- Muffin Tin or Silicone Baking Cups
-
- Large Wooden Cutting Board or Marble Slab
-
- Small Ceramic Ramekins
-
- Cheese Knives and Honey Spreader
-
- Pastry Brush
-
- Grill Tongs
-
-
Instructions
-
-
-
- Heat your outdoor grill to medium (around 375°F). Set the pre-soaked cedar plank on the hot grill grate for 3 minutes until it gives off a faint wispy smoke.
-
- Set the wheel of Brie right onto the warm cedar plank. Close the grill lid and cook for 10 to 12 minutes until the sides puff slightly and feel soft to a light touch.
-
- While the cheese warms, toss seedless red grapes with a drizzle of olive oil. Set them on a grill tray over direct heat for 6 minutes until skins blister and turn sweet.
-
- Press thin prosciutto slices gently into muffin tin slots to build small cup shapes. Air-fry at 375°F for 5 to 6 minutes until dark and crispy. Set aside to cool down.
-
- Brush baguette rounds with olive oil and place them straight onto grill grates for 1 to 2 minutes per side until marked with light brown grill lines.
-
- Place the warm cedar plank with your grilled Brie right near the middle of your large wooden serving board. Set ramekins with honey and fig jam nearby.
-
- Fan white cheddar triangles and Gouda cubes around the outer edges of the ramekins. Add the pistachio goat cheese log opposite the Brie.
-
- Fold salami slices into neat quarter-folds and line them up along with capicola ribbons and crispy prosciutto cups across empty spots on the board.
-
- Tuck blistered grapes, halved figs, toasted nuts, and grilled crostini into remaining spaces. Tuck fresh rosemary sprigs into gaps and serve warm.
-
-
My first time cooking cheese on the barbecue I put an unwrapped wheel of Brie onto the hot grates. Within 3 minutes, half of the cheese had melted through the metal grills. This created a huge amount of smoke and left me with a big pile of mess to clean up.
I learned my lesson and now always cook with damp cedar planks and small cast iron pans. This creates a moist and smoky Brie that doesn’t lose any of its delicious cheese. This is now the star of my platters when I’m cooking for the holidays on my patio.
Warm Elements: Grilling and Air-Frying
Whilst most people may see cheese boards as purely cold, we are missing an element here. By adding cooked elements you can create a unique temperature contrast, turning your standard cheese board into a full meal. Combining smoky and warm grilled elements with traditional cheese creates an incredibly memorable meal.
By grilling the cheeses on the cedar plank, the cheese is protected. The cedar will give off its wonderful aromas and light smoke as it heats up. When the guests stab through the top layer of cheese with their knife, the warm creamy liquid will flow out onto the toasted crostini.
Blistered Fruit and Crispy Meats
Don’t forget about grilling! Grapes will char and caramelize to create intense sweet notes. The high heat will break down the skins so they release their natural juices which pairs perfectly with salty cured meats.
The air fryer is perfect for creating crisp edible ham containers. Prosciutto strips or cups can be air fried to create an amazing crisp structure in under 6 minutes with no greasy mess on your stovetop.
Pro Tip: Heat your air fryer to 375°F and crisp prosciutto slices in silicone muffin cups for exactly six minutes—they hold their shape perfectly and turn into crunchy edible bowls for olive tapenade or honey.
Selecting the Right Meats and Cheeses
Variety keeps people picking at your board throughout the evening. You want a mix of textures, age profiles, and milk types so every bite feels slightly different from the last.
The Cheese Foundation
Aim for four distinct style categories when buying cheese for ten guests:
- Soft & Creamy: Cedar-planked Brie or Camembert offer rich, buttery notes when warm.
- Hard & Aged: Sharp white cheddar, aged Gouda, or Manchego bring firm texture and nutty depth.
- Funky or Tangy: Fresh goat cheese rolled in crushed pistachios or a mild blue cheese wedge offer bright contrast.
- Semi-Firm: Smoked Gouda or Havarti bring easy slicing and familiar flavor appeal.
Cut any hard cheeses ahead of time. Leave Brie type cheeses whole until you are ready to serve so they don’t become too dry. Cut your cheddar cheese into triangular shape pieces, or cut your Gouda cheese into bite sized cubes for easy finger or toothpick picking.
Selecting Cured Meats
Combine different types of cured meats. Genoa salami will add some garlicky peppery depth. Spicy capicola will bring a little kick, whilst the prosciutto is a delicate salty option that will work well with the sweetness of figs and honey.
Don’t lay the slices flat on your board. Fold each slice of salami in half twice to create a ruffled triangle. Neatly layer them together into a ‘river’ shape to lead the eye around your plate.
Styling Your Platter for Maximum Visual Impact
The key to an amazing board is creating depth, balance and volume. A charcuterie platter should never be too sparse so you want to create a feeling of abundance.
Use small ramekins as your starting point. This will give you natural points to place your meats and fruits on. Ramekins will keep your moist items such as honey, fig jam and olive tapenade separate from your crumbly crackers and dry cheeses.
Step-by-Step Board Assembly
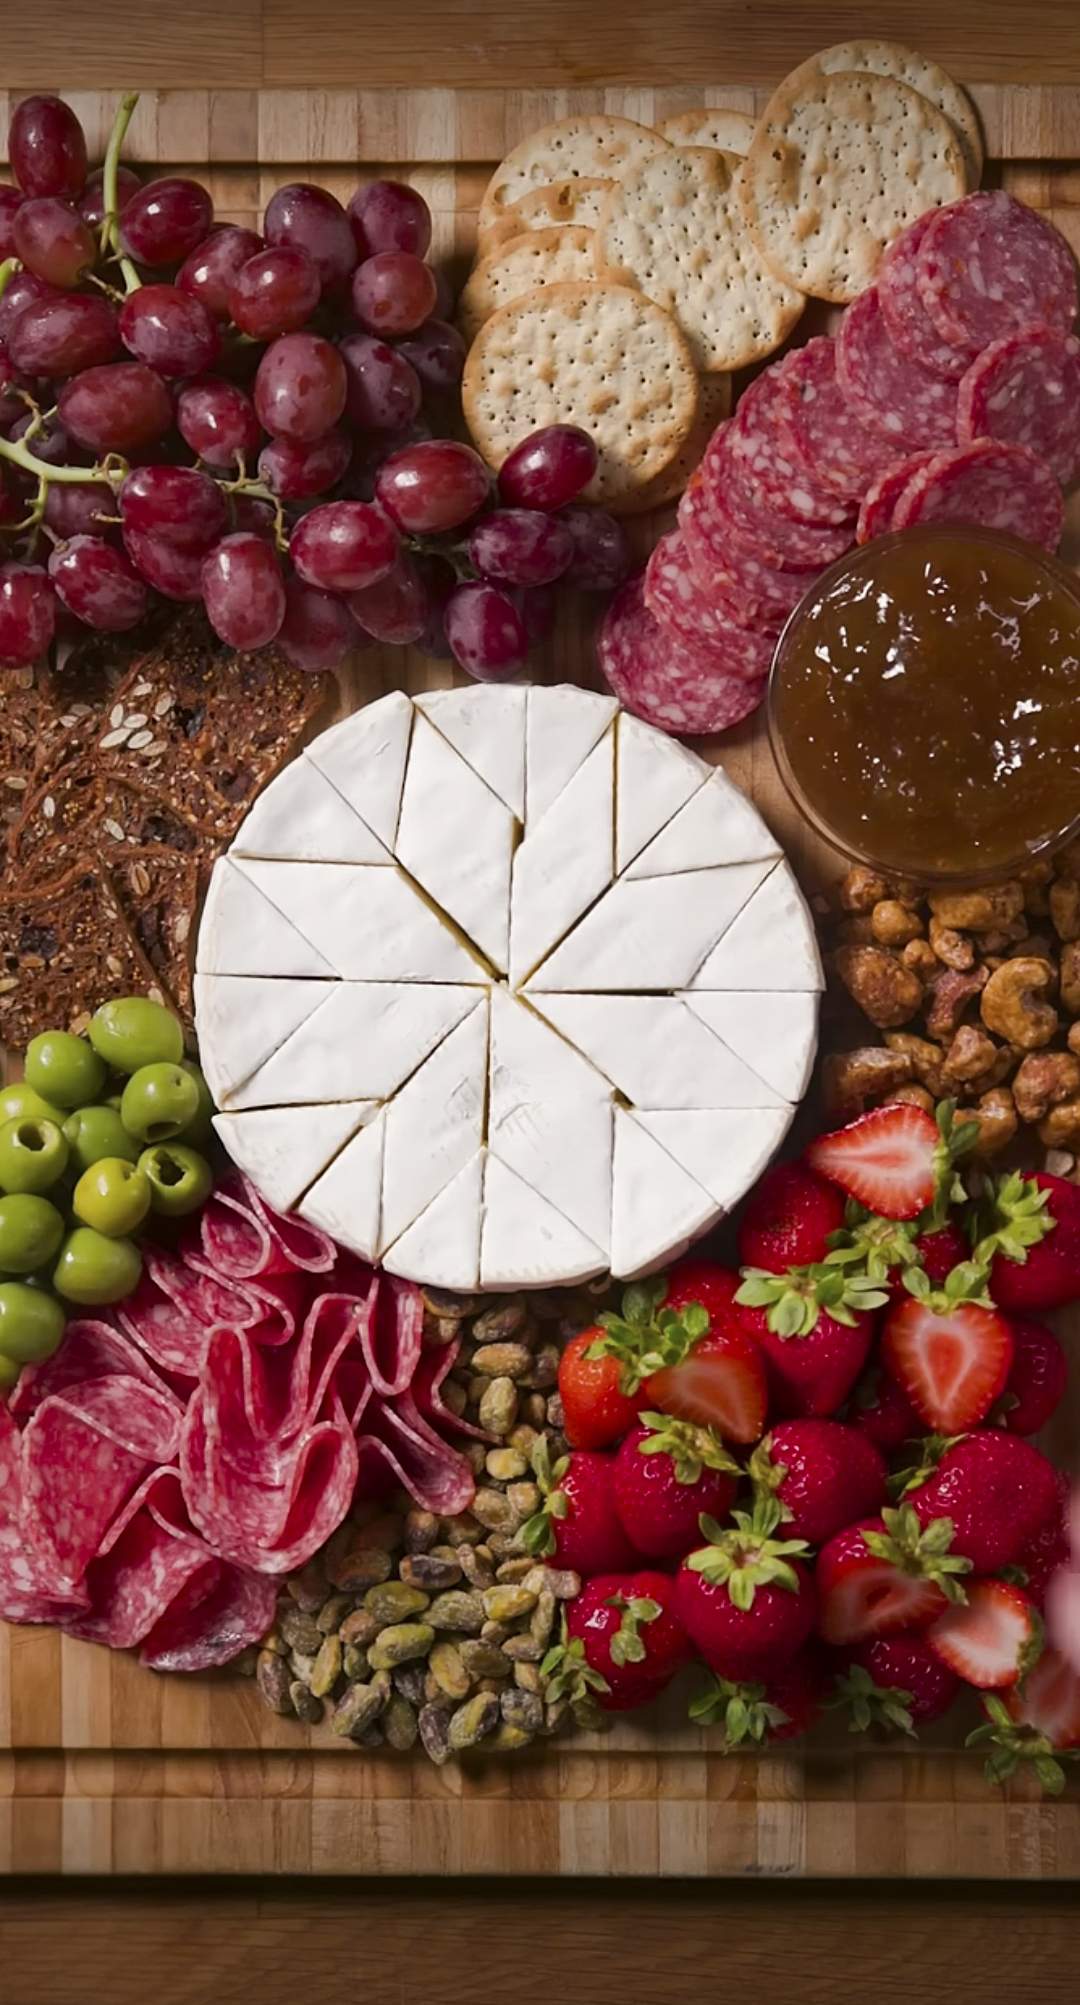
- Set Anchor Bowls: Position two or three small ramekins slightly off-center on your wooden board.
- Place Warm Star Elements: Set the cedar plank with warm Brie and your cast-iron elements near the center.
- Arrange Cheese Structures: Lay down fan patterns of sliced cheddar and stacked cubes of Gouda around the bowls.
- Flow Meat Rivers: Snake folded salami and capicola ribbons through open paths between cheeses.
- Fill Medium Gaps: Place clusters of blistered grapes, fresh fig halves, and air-fried prosciutto cups into large gaps.
- Pack Empty Spaces: Fill remaining small pockets with candied walnuts, toasted crostini, and fresh rosemary sprigs.
Color contrast makes a massive visual difference. Place bright red grapes right next to pale white cheeses, or tuck green rosemary leaves under dark pink capicola slices. Air-frying prosciutto cups creates a dramatic texture contrast that guests will talk about all night.
Prep-Ahead Steps and Storage Tips
Hosting can be stressful but you can make most elements of this meal in advance.
24 Hours Ahead of Time
Cut up all your firm and semi firm cheeses. Place them in an airtight container with wax paper in between each layer of cheese. Cut your baguette into rounds for your crostini and place it in a ziplock bag.
Soak your cedar plank overnight in water so that it can absorb as much water as possible. This means your wood will not catch fire on your outdoor grill and will create a slow smoke.
Leftovers
Place your leftover wedges of cheese into a tight seal parchment paper. You don’t want to use plastic wrap as the cheese needs to breathe. Place your cured meats into airtight bags and eat within 3 days.
Reheat your cold crostini in your air fryer for 2 minutes at 350 degrees to give them their crunch back. You can also melt your leftover Brie in the oven for 5 minutes at 300 degrees.
Frequently Asked Questions
How long can a charcuterie board sit out at room temperature?
A charcuterie board can safely stay out for up to two hours at room temperature. If your event is outdoors in warm weather above 90°F, cut that window down to one hour to keep dairy and meats fresh.
What are the best crackers for a charcuterie board?
Sturdy, neutral-flavored crackers work best. Water crackers, sea salt pita chips, and grilled baguette crostini hold heavy cheeses and jams without breaking or overpowering delicate cheese flavors.
Can I prepare the entire charcuterie board hours in advance?
You can pre-cut cheeses and arrange cold meats on the board up to four hours ahead. Cover the board tightly with plastic wrap and chill in the fridge. Add grilled items, fresh crostini, nuts, and warm cheeses right before serving.
How much cheese and meat should I plan per person?
Plan for about 2 to 3 ounces of cheese and 2 ounces of meat per guest if serving as an appetizer before a main meal. If the board is the main food attraction, increase to 4 ounces of each per person.
What warm element are you planning to grill for your next party spread? Drop a comment below and let us know your favorite cheese combinations!