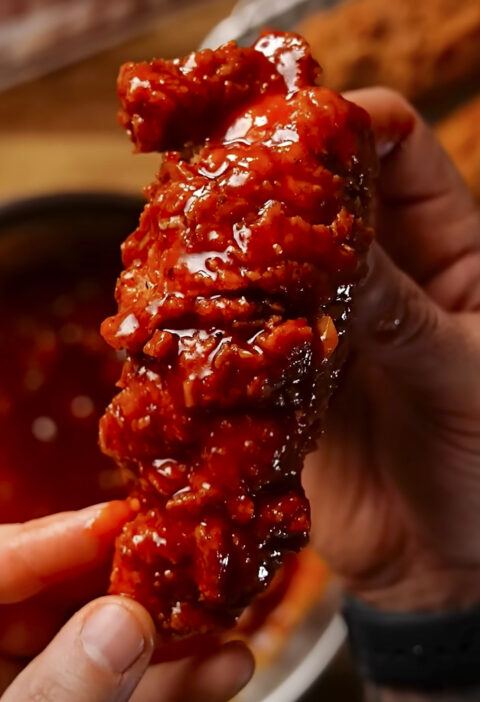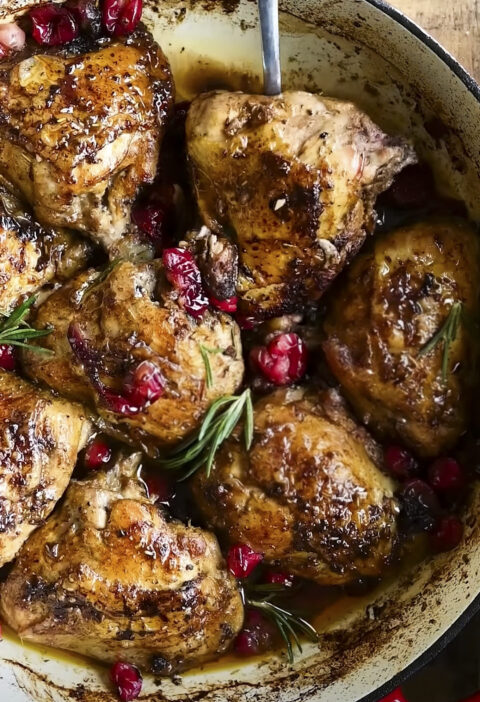
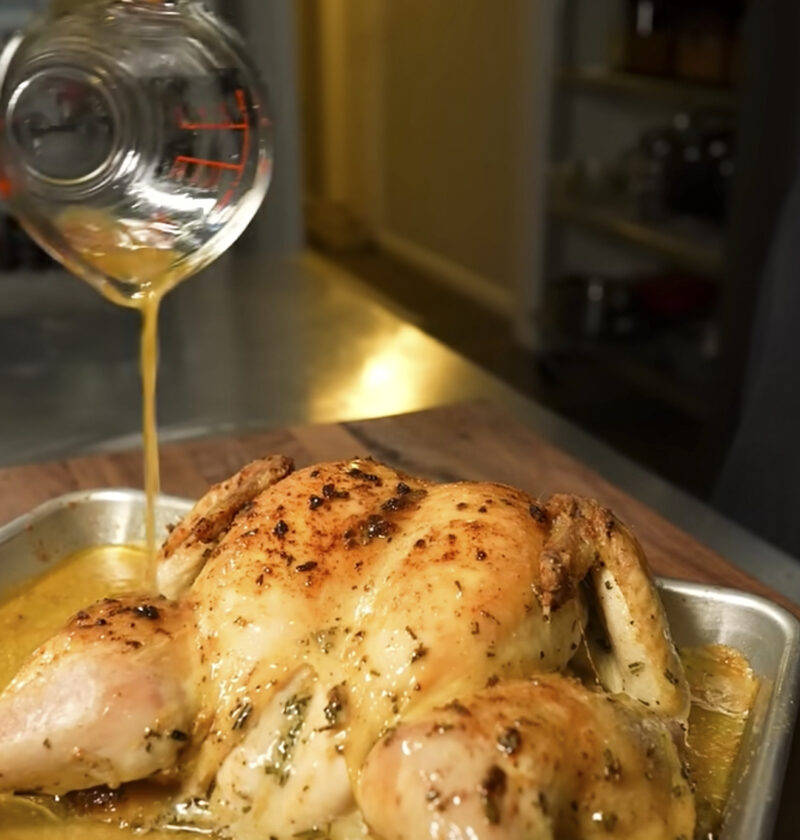
There are only a couple of reasons why your recipe will become an instant family favourite. The delicious, comforting aroma of the crispy, golden skin and the wonderful herbs of rosemary, thyme and sage really make this dish memorable. By squashing the bird you ensure that it cooks in half the usual time but all parts of the bird will cook evenly. You can guarantee moist breast meat and perfectly cooked thighs.
Key Takeaways
Crispy Herb-Butter Spatchcock Chicken
A whole roast bird infused with fresh rosemary, thyme, garlic, and rich sea-salted butter roasted flat for maximum crunch.
Ingredients
-
-
- 1 whole chicken (about 3.5 to 4 lbs), patted thoroughly dry
-
- 4 tablespoons unsalted butter, softened to room temperature
-
- 1 tablespoon fresh rosemary, finely minced
-
- 1 tablespoon fresh thyme leaves, stripped from stems
-
- 1 tablespoon fresh flat-leaf parsley, finely chopped
-
- 4 cloves garlic, finely grated or minced
-
- 1 teaspoon fresh lemon zest
-
- 1.5 teaspoons fine sea salt, divided
-
- 0.75 teaspoon freshly ground black pepper
-
- 1 tablespoon olive oil (for rubbing on the skin surface)
-
Necessary Utensils & Equipment
-
-
-
- Heavy-duty poultry shears or sharp kitchen shears
-
- Large rimmed baking sheet
-
- Oven-safe wire cooling rack
-
- Small mixing bowl
-
- Paper towels
-
- Instant-read meat thermometer
-
- Chef’s knife and cutting board
-
-
Instructions
-
-
-
- Adjust your oven rack to the middle position and preheat your oven to 450°F (230°C). Line a heavy-rimmed baking sheet with aluminum foil and place an oven-safe wire cooling rack on top.
-
- Place the chicken breast-side down on a large cutting board with the neck facing you. Using sturdy poultry shears, cut along one side of the backbone from tail to neck. Repeat the cut along the opposite side of the spine, remove the bone completely, and set it aside for homemade stock.
-
- Flip the bird over so the breasts face up. Place the palms of both hands firmly over the center breastbone and press down firmly until you hear a sharp snap. The chicken should now lie completely flat.
-
- Pat the chicken completely dry with paper towels on both sides. Moisture prevents browning, so be thorough around every fold and crevice.
-
- In a small bowl, stir together the softened butter, minced rosemary, fresh thyme, parsley, grated garlic, lemon zest, 1 teaspoon of sea salt, and half the black pepper until blended into a fragrant paste.
-
- Gently separate the skin from the breast and thigh meat using your fingertips. Slide small spoonfuls of the herb paste directly under the skin, spreading it evenly across the meat beneath.
-
- Rub the outside of the chicken skin with 1 tablespoon of olive oil. Season the entire exterior evenly with the remaining half teaspoon of salt and black pepper.
-
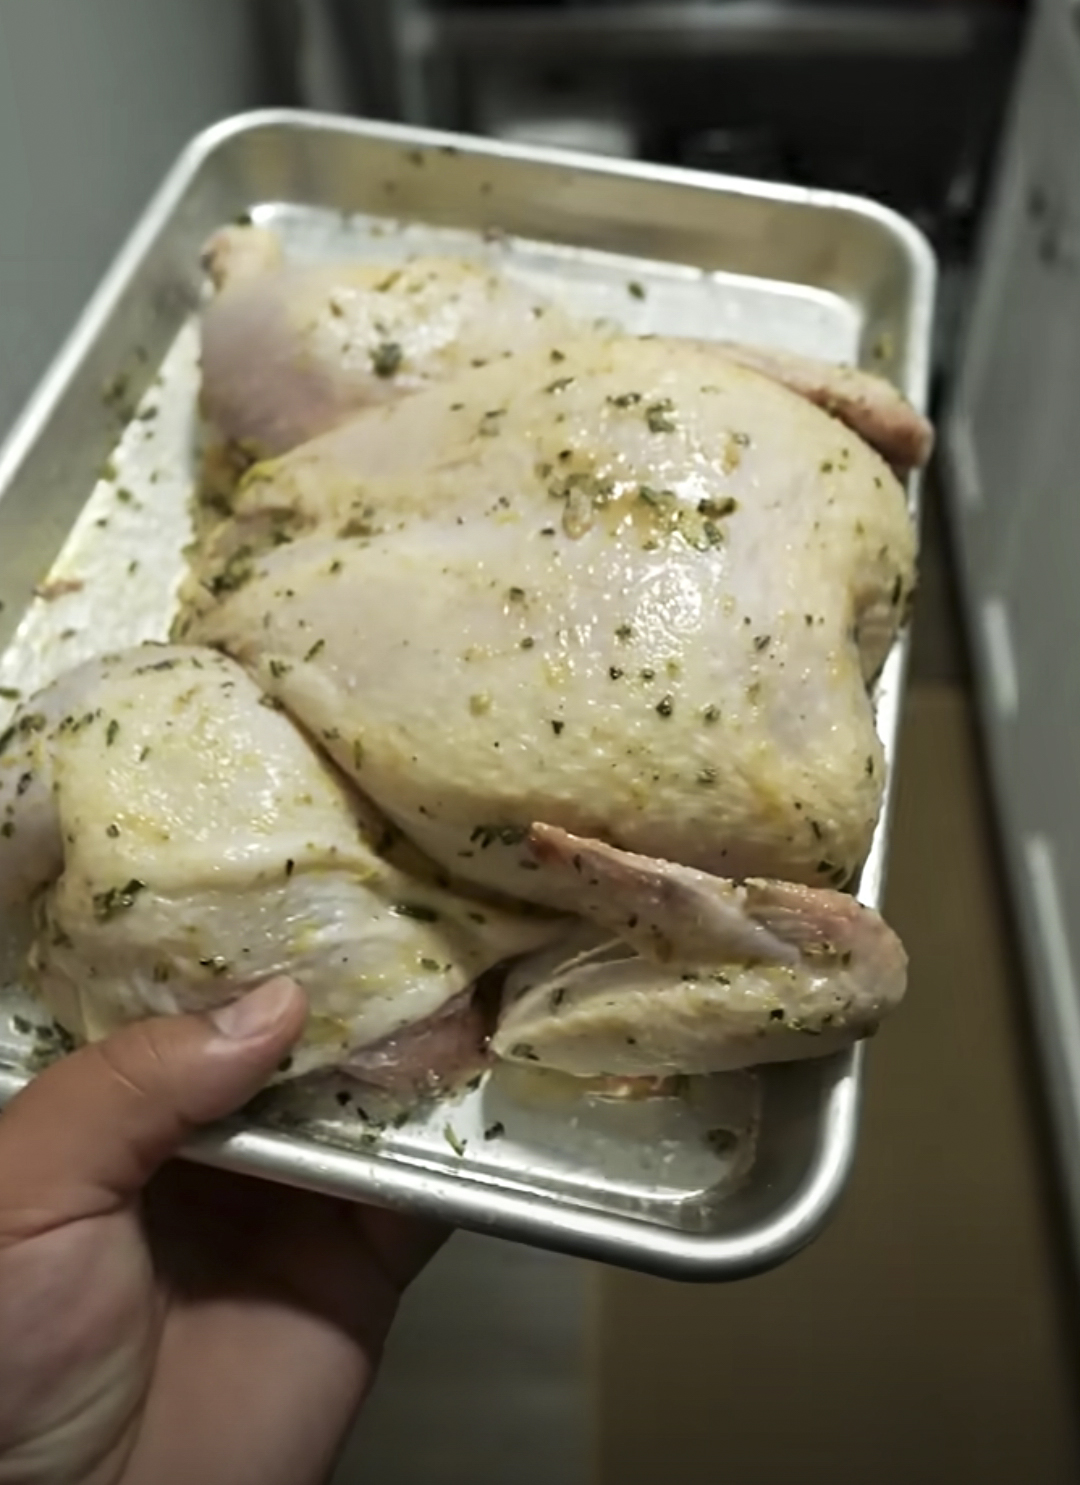
- Lay the chicken flat onto the prepared wire rack on the baking sheet, tucking the wing tips behind the shoulders to avoid burning.
-
- Roast at 450°F for roughly 30 minutes, or until the thickest part of the breast reaches 160°F and the dark meat at the thigh registers 175°F on an instant-read thermometer.
-
- Remove the baking sheet from the oven and transfer the chicken to a clean carving board. Let it rest untouched for 10 minutes to allow juices to settle before carving into quarters or pieces.
-
-
Why Spatchcocking Works Better Than Traditional Roasting
Cooking a whole bird can be a problem due to the difference in cooking times between the breast and the joints. The breast cooks at the top and because it is such a light meat will cook too quickly becoming spongey and dry by the time the dark joints at the bottom (which are a lot denser) have been cooked.
By spatchcocking (butterflying) you remove this problem. Removing the spine and laying the bird flat means all the pieces of meat will cook evenly under direct heat. The dark joints will lay flat against the hottest part of the oven so they’ll cook at the same rate as your breast.
As an added bonus your bird has more surface area! Half of a normal bird will sit in its own steam meaning you’ll have a rubbery pale skin on the back. However, laying your bird flat on a wire rack will mean every single inch of your poultry will be cooking skin up meaning a crispy golden skin.
How to Butterfly the Chicken Without Stress
The first time I tried to remove the backbone, I grabbed some blunt utility scissors from the junk drawer. It took 20 minutes of gnawing through cartilage, cutting up the skin and sore fingers to get to the point where the bird was placed into the oven pan.
Get some good spring-loaded shears with serrated blades. They will make quick work of the rib bones. If you don’t have any shears then a heavy chef’s knife will do just fine. Just cut along the spine slowly. The shears are much safer.
Make sure to place the backbone into a freezer bag. Pop into the freezer with your vegetable trimmings and you will have the base of a very flavoursome chicken stock next week.
The Fresh Herb-Butter Secret
Butter is a great way to add richness to your dish, but will burn if you apply directly to the chicken skin at 450F. Milk solids in butter burn quickly when exposed to intense direct heat.
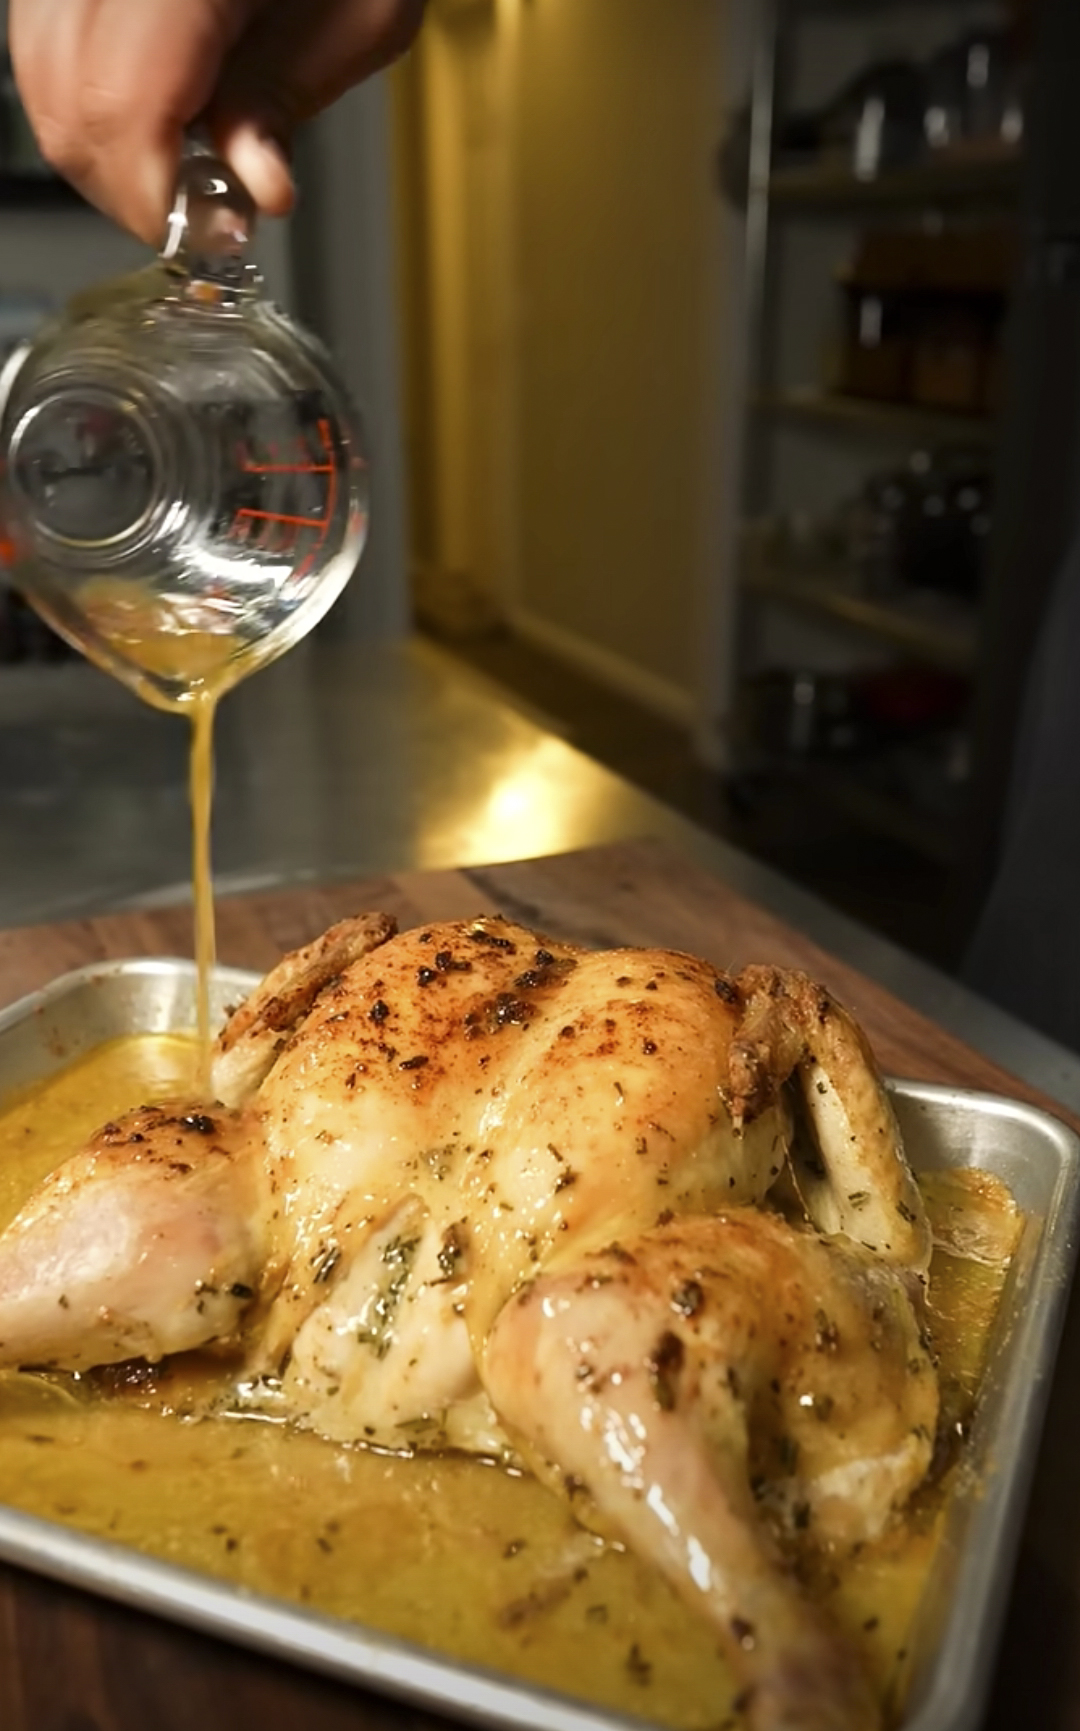
You can easily avoid this by applying the herb butter beneath the skin, then rubbing high smoke olive oil onto the outside of the chicken. As the butter melts inside the chicken breast during cooking, it bastes the meat with the garlic and earthy herb oils.
Pro Tip: Don’t miss out on the fresh lemon zest in your herb mix. It contains natural oils which helps to emulsify the rich butter fats and adds fresh seasoning to your chicken.
As you’re placing the butter beneath the skin, take your time to work your fingers into the space between the chicken flesh and skin starting from the neck hole. Gently work your fingers down towards the joints of the thighs. Avoid ripping the skin so the tight little pouch contains all the juicy melted butter.
Expert Tips for Success
Skin Bone Dry
One of the main problems with getting crispy skin on your chicken is water. The oven will use all of the energy it has to begin with just to boil the water away. To avoid this, pat your chicken dry using 3-4 paper towels until the skin is sticky. If time allows, leave your chicken on a plate in your fridge for 2 hours uncovered. The dry air will work wonders.
Wing Folding
The thin ends of the wings will burn very quickly. Fold over the first joint and twist backwards to pop into the shoulder joint. This makes the chicken compact, avoids burnt ends and also stops the breasts from leaning over.
Use a Rimming Tray and Wire Rack
Never put your flattened chicken straight onto a solid tray. Fat will run quickly and pool at the bottom making the back of the chicken boil. Pop your chicken onto a strong wire cooling rack.
No timings!
Depending on the exact weight of your chicken and how accurate your oven temperature is, your cooking times can vary. I would advise getting an instant read probe thermometer. Once the breast reaches 160F remove from the oven. The carry over heat when resting (must be 10 minutes) will bring the temperature up to a safe, moist 165F.
Sensational Herb and Spice Variations
While rosemary and thyme create a timeless roast, you can take this basic technique in distinct directions depending on what fresh herbs sit on your windowsill:
- Provençal Garden: Swap thyme and sage for finely chopped tarragon, chives, and a pinch of lavender buds.
- Smoky Citrus: Mix orange zest, chopped oregano, smoked paprika, and a touch of ground cumin into your butter paste.
- Garlic Lover’s Dream: Double the garlic cloves and stir in two tablespoons of minced fresh chives for a bold, punchy aromatics layer.
What to Serve Alongside
As the chicken cooks in a hot oven you can cook the side dishes using the same heat. Baby yorkon gold potatoes tossed in olive oil and cooked at the bottom of the pan on top of the wire rack. This way the chicken dripping will fall over the potatoes and cook them in delicious rendered schmaltz.
The bright, crunchy green salad with tangy red wine vinaigrette will cut through the rich buttery taste of the roasted chicken. A warm crusty sourdough bread is also useful to mop up any juices.
Storage and Reheating Instructions
Leftovers keep well and make fantastic lunches throughout the week. Let the roasted chicken cool completely before storing it away.
- Refrigeration: Store carved portions in an airtight container for up to 4 days. Keep the skin as dry as possible.
- Freezing: Shred the meat off the bones and pack it into freezer bags for up to 3 months. Perfect for quick soups or grain bowls later on.
- Reheating for Crispness: Avoid the microwave if you want to keep the skin crisp. Place pieces on a baking tray in a 375°F (190°C) oven or air fryer basket for 6 to 8 minutes until hot and sizzling.
Frequently Asked Questions
Can I spatchcock a frozen chicken?
No, you must thaw the bird completely in the refrigerator before butterflying. Trying to cut through an icy backbone will damage your kitchen shears and creates a slipping hazard on your counter.
Can I make the herb butter ahead of time?
Yes. You can mix the softened butter with chopped herbs, garlic, and citrus zest up to 3 days in advance. Store it wrapped in parchment inside the fridge, then bring it back to room temperature before attempting to spread it under the skin.
What if I do not own an oven-safe wire rack?
You can create a natural roasting rack using sturdy vegetables. Lay thick slices of yellow onions, carrots, and celery across your baking sheet, then lay the flattened bird directly across them. The chicken stays elevated, and you get delicious roasted vegetables as a bonus.
Why did my oven start smoking during roasting?
High-heat roasting causes chicken fat to render and hit the hot bare metal sheet pan. To prevent smoking, pour half a cup of water into the bottom of the pan beneath the rack before it goes in the oven, or line the pan with parchment paper underneath the foil.
Have you tried butterflying your roast chicken at home yet, or do you have a favorite herb blend you swear by? Let me know in the comments below!