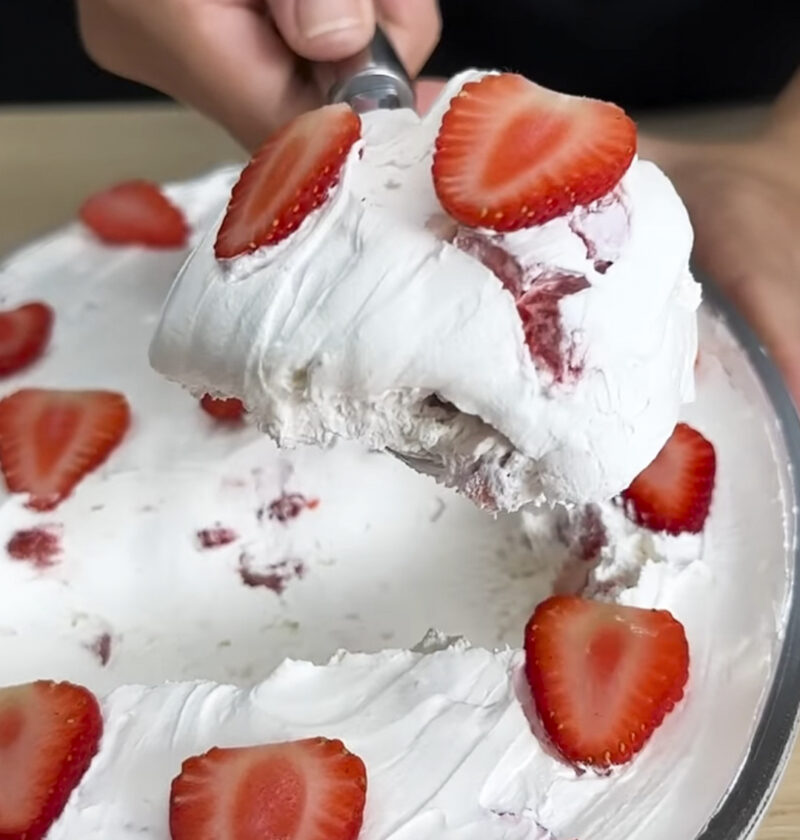
As fresh autumn air sweeps in, there’s nothing like a warm comforting meal. When I see a sweet treat I always think about going for something that will take me back. Although ice cream may seem like a summer treat, the rich cake batter taste is perfect whatever the weather! This is one of my viral recipes that you can make with no specialist equipment and just 3 easy ingredients. The key to getting that real bakery taste is by preparing the dry ingredients first. This soft and creamy fudge will be a hit in your kitchen!
Key Takeaways
Viral 3-Ingredient Dairy-Free Cake Batter Ice Cream (No-Churn)
A creamy, nostalgic frozen treat made with chilled coconut cream, sweet condensed coconut milk, and safe heat-treated yellow cake mix.
Ingredients
- 1 1/2 cups yellow or white cake mix (gluten-free if needed)
- 1 can (13.5 oz) full-fat coconut milk, thoroughly chilled overnight
- 1 can (11.5 oz) sweetened condensed coconut milk
- Optional: 3 tbsp rainbow sprinkles for topping
Necessary Utensils & Equipment
-
-
- Baking Sheet
-
- Electric Hand Mixer or Stand Mixer
-
- Large Mixing Bowl
-
- Silicone Spatula
-
- 9×5-inch Loaf Pan or Freezer-Safe Container
-
- Measuring Cups
-
Instructions
-
- Preheat your oven to 350°F (175°C). Spread the dry cake mix evenly onto an ungreased baking sheet.
- Bake the cake mix for 5 minutes to heat-treat the flour. Remove it from the oven and let it cool completely to room temperature.
- Open the chilled can of full-fat coconut milk. Scoop only the thick, hardened cream from the top into a cold mixing bowl, reserving the clear liquid for other recipes.
- Using an electric hand mixer, whip the coconut cream on high speed for 3 to 4 minutes until fluffy peaks form.
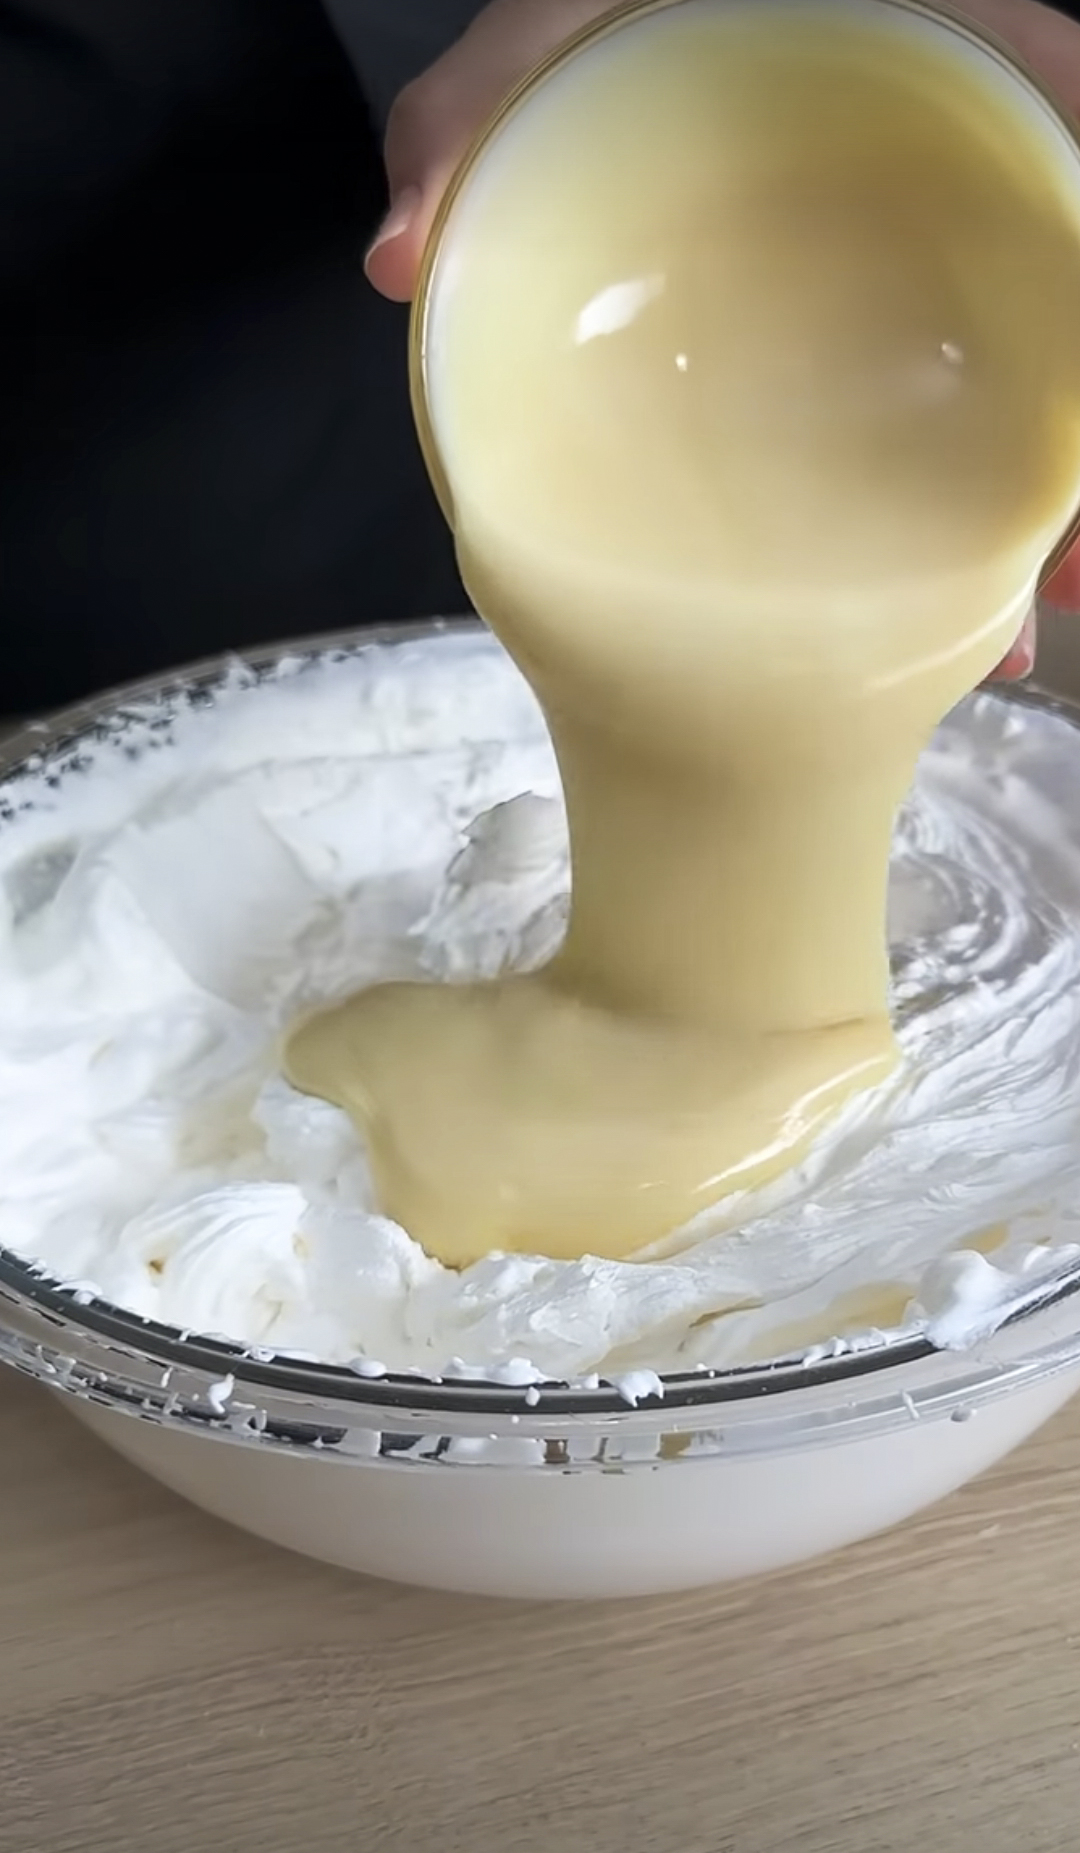
- Pour in the sweetened condensed coconut milk and add the cooled cake mix. Use a silicone spatula to fold everything together gently until smooth.
- Transfer the mixture into a 9×5-inch metal loaf pan. Smooth the top with your spatula and scatter rainbow sprinkles over the surface if desired.
- Cover tightly with foil or parchment paper and freeze for at least 4 hours, or until firm enough to scoop.
The Secret to Creamy Dairy-Free Ice Cream
When I started experimenting with my own vegan desserts, I quickly hit a few issues. Almond milk (common milk substitute for those avoiding dairy) has a high water content. This causes it to freeze solid when you put it in the freezer.
When I first made this recipe I hadn’t considered the importance of heating the cake mix before adding to the liquid. I added raw cake mix to the liquid coconut milk. It wasn’t even in a cold can or baked. The end result was a runny and gritty dessert that tasted of raw flour. I was ready to give up!
If you heat your cake mix in the oven you are toasting the flour making it edible. Combining the cooked cake mix with whipped fat solids from the coconut milk (which is cold) made the liquid turn into a thick, creamy texture. This can be frozen easily without specialist equipment.
Pro Tip: Place your mixing bowl and beaters in the freezer for 15 minutes before whipping your coconut cream. Cold utensils keep the plant fats firm, allowing you to whip maximum air into the base for a lighter texture.
Choosing the Right Dairy-Free Base
Because this dessert relies on just three main components, choosing the right ingredients makes a huge difference in taste and texture. You want components that provide natural richness without overpowering the classic cake batter flavor.
Here is what you need to look for when shopping:
- Full-Fat Canned Coconut Milk: Skip the carton milk in the refrigerated aisle. You need canned full-fat coconut milk (or canned coconut cream) chilled overnight so the fat solids separate cleanly from the water.
- Sweetened Condensed Coconut Milk: This thick sweetener keeps the ice cream soft and scoopable. The high sugar content lowers the freezing point, preventing harsh ice crystals.
- Yellow or White Cake Mix: Standard boxed cake mix provides that classic, nostalgic bakery taste. Feel free to use a gluten-free certified box if you have dietary restrictions.
Step-by-Step Method for No-Churn Success
This is an easy recipe to make at home, however it’s important to keep your ingredients nice and cold. As soon as you begin mixing you’ll notice your batter starting to thicken.
Begin by baking your dry cake mix on a tray for 5 minutes. This will kill off any bacteria in the raw flour, and give your cake mix a slight nutty flavour. Allow to cool completely before mixing as it will cause your whipped cream to melt.
Scoop out just the firm, white cream from your chilled tin of coconut milk into a large bowl. Set the coconut water aside for smoothies in the morning or to use in soup. Whisk the cold cream using your mixer.
Carefully fold in the sweetened condensed coconut milk and cooled cake mix. Make sure to do this slowly with your silicone spatula so you don’t knock out any of the air bubbles. Once everything has been fully combined pour into your loaf tin and smooth the surface. Pop in the freezer to finish.
Fun Flavor Variations and Mix-Ins
While the base yellow cake flavor is incredible on its own, adding extra textures makes every bite even more enjoyable. You can customize this base to match whatever sweet cravings you have.
Try folding in a few of these popular additions right before you pour the cream into your pan:
- Classic Funfetti: Fold in 1/4 cup of rainbow jimmies for bright pops of color throughout every scoop.
- Cookie Dough Crunch: Pinch off tiny bite-sized pieces of eggless chocolate chip cookie dough and drop them into the mixture layer by layer.
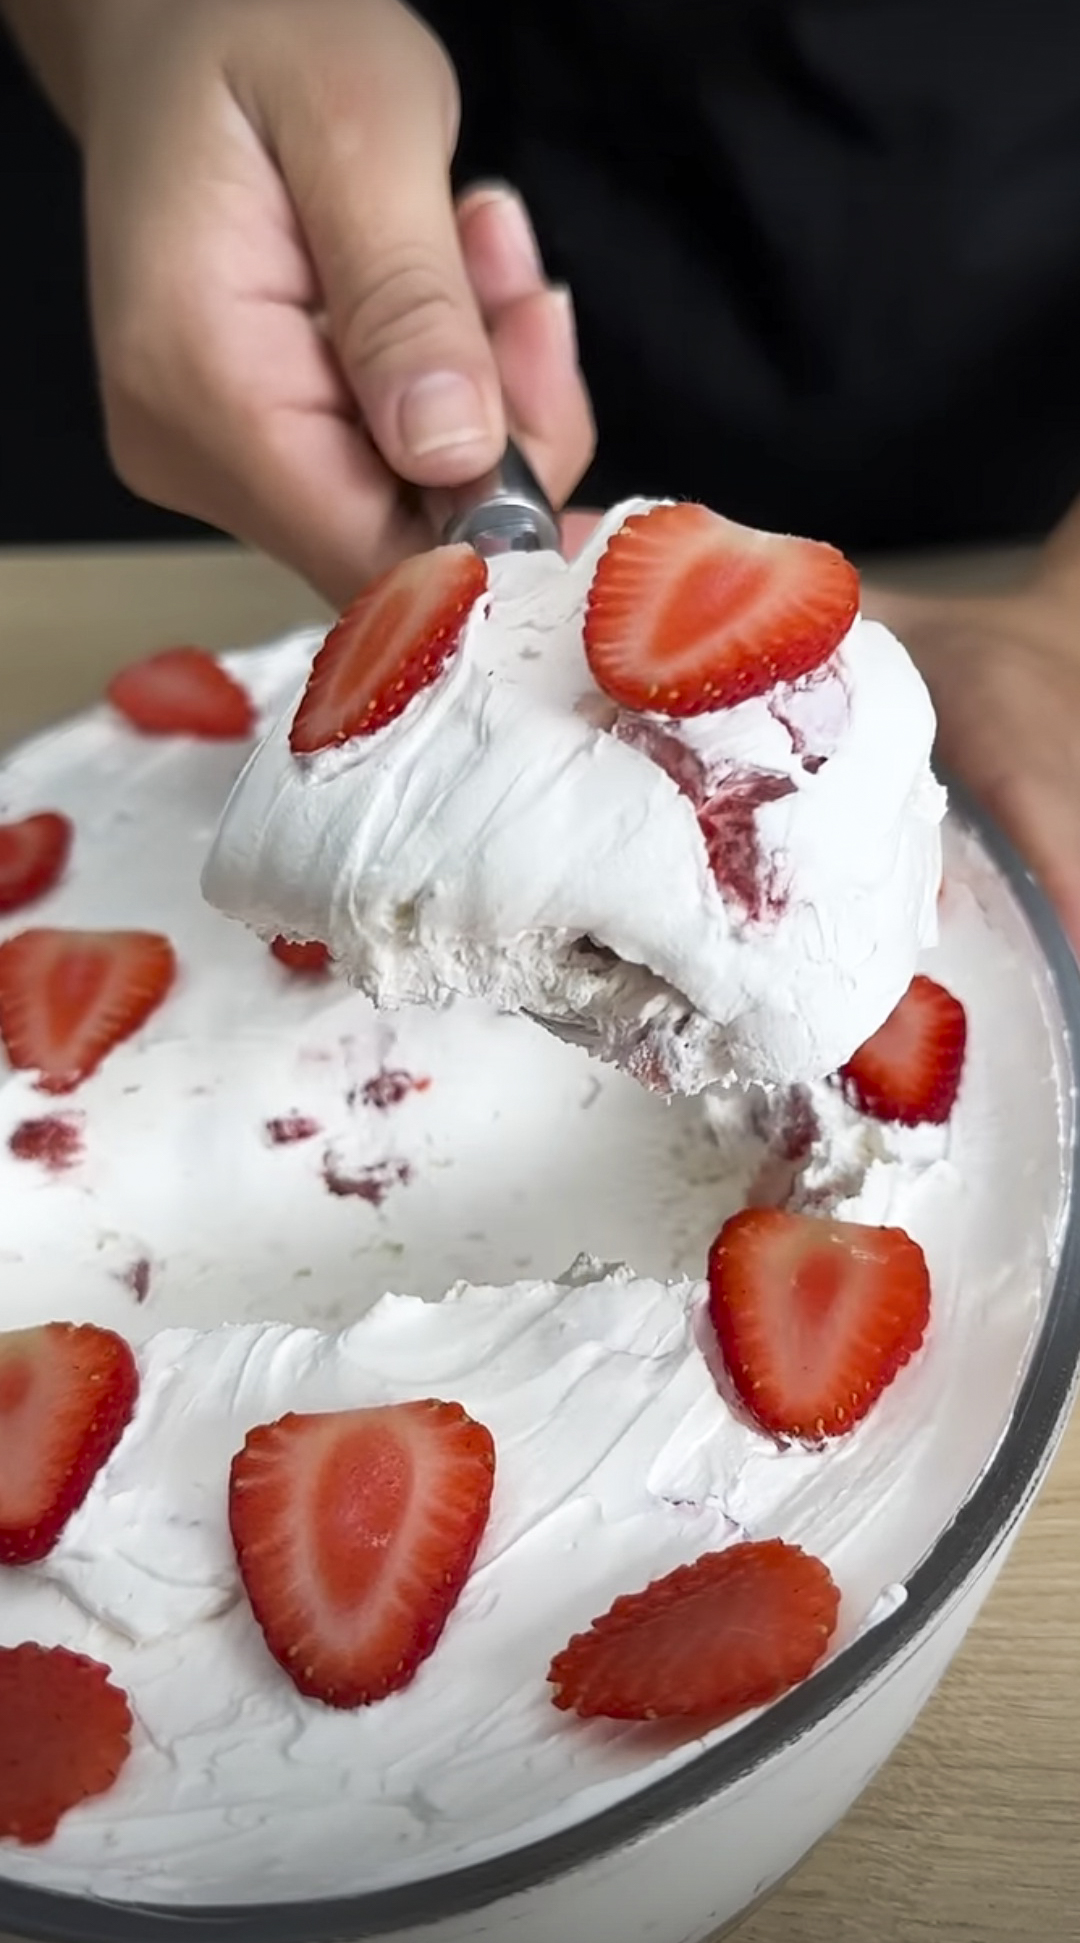
- Strawberry Shortcake: Warm half a cup of strawberry jam and swirl it through the pan using a butter knife right before freezing.
- Chocolate Fudge Cake: Swap out the yellow cake mix for a rich fudge cake mix and add mini chocolate chips.
Storage Tips and Serving Suggestions
Without the using of chemical stabilizers often found in commercial products, these desserts will harden when left in the freezer for long periods. However they can be stored properly to ensure a silky smooth texture that will taste delicious for weeks.
Place a piece of wax or parchment paper on top of the frozen cream to create a barrier before placing the lid back on. This will stop any freezer burn.
When you wish to serve simply leave the container on the counter for between 10-12 minutes. The fats will begin to soften slightly making it super easy to scoop out perfectly round, smooth scoops.
Frequently Asked Questions
Can I taste the coconut in this ice cream?
There is a very faint coconut note if you sample the liquid base warm, but once the heat-treated cake mix and sweet condensed milk are folded in and chilled, the classic vanilla cake batter flavor completely takes over.
Do I really need to heat-treat the cake mix?
Yes, heat-treating is a critical safety step. Raw boxed cake mix contains uncooked flour, which can carry bacteria. Baking it at 350°F for five minutes eliminates any risk while enhancing the warm, buttery notes of the mix.
Can I use low-fat or light coconut milk instead?
Light coconut milk contains far too much water and not enough fat solids. Using light milk will result in an icy, crunchy block rather than a smooth, creamy frozen dessert. Stick with canned full-fat coconut milk or canned coconut cream for best results.
How long does this dairy-free ice cream keep in the freezer?
When stored tightly with parchment paper pressed against the top surface, this dessert keeps its fresh flavor and creamy texture for up to three weeks in the freezer.
Have you tried making your own no-churn frozen treats at home yet? Drop a comment below and let me know what mix-ins you plan to try!